1936 Cord Phaeton Restoration
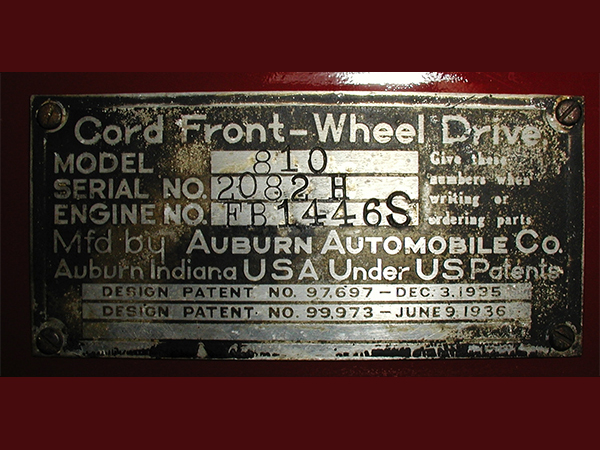
It appears this Phaeton was built in 1936 as an 810 and was used to develop Cord’s supercharger. It was then sold as an 812, despite the nameplate saying 810.
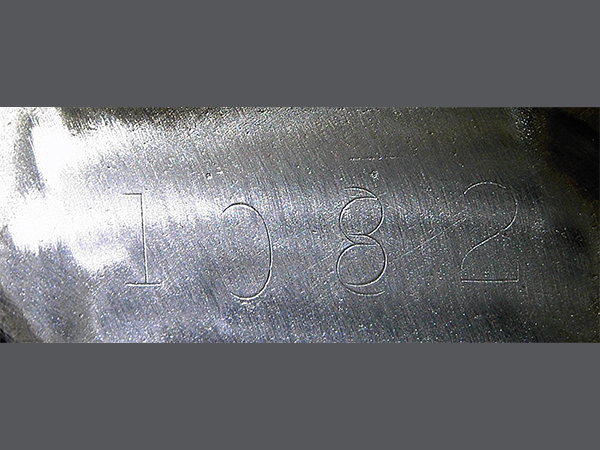
The book by Josh Malks shows the Phaeton as an 812 on page 260. This makes sense as the subframe is 1082, a dd1000 and 812 2082. The engine is FB1446; 812 2082 H; FB 1446; Convertible Phaeton. It does not have the 3 in front of the number designating supercharged. Given the size of the timing chain, perhaps the supercharger was removed and the vehicle then sold as un-supercharged.
Engine Numbers
The body and engine numbers are consistent with a mid-1936 production and records confirm engine FB1446 as early as 1973 and that is was likely direct from the factory. However, the engine appears rebuilt using hand-built parts and mounts (including holes for supercharger mounting), yet was never supercharged. The stamped “S” after the engine number is confusing, but may indicate a factory supercharging at some time.
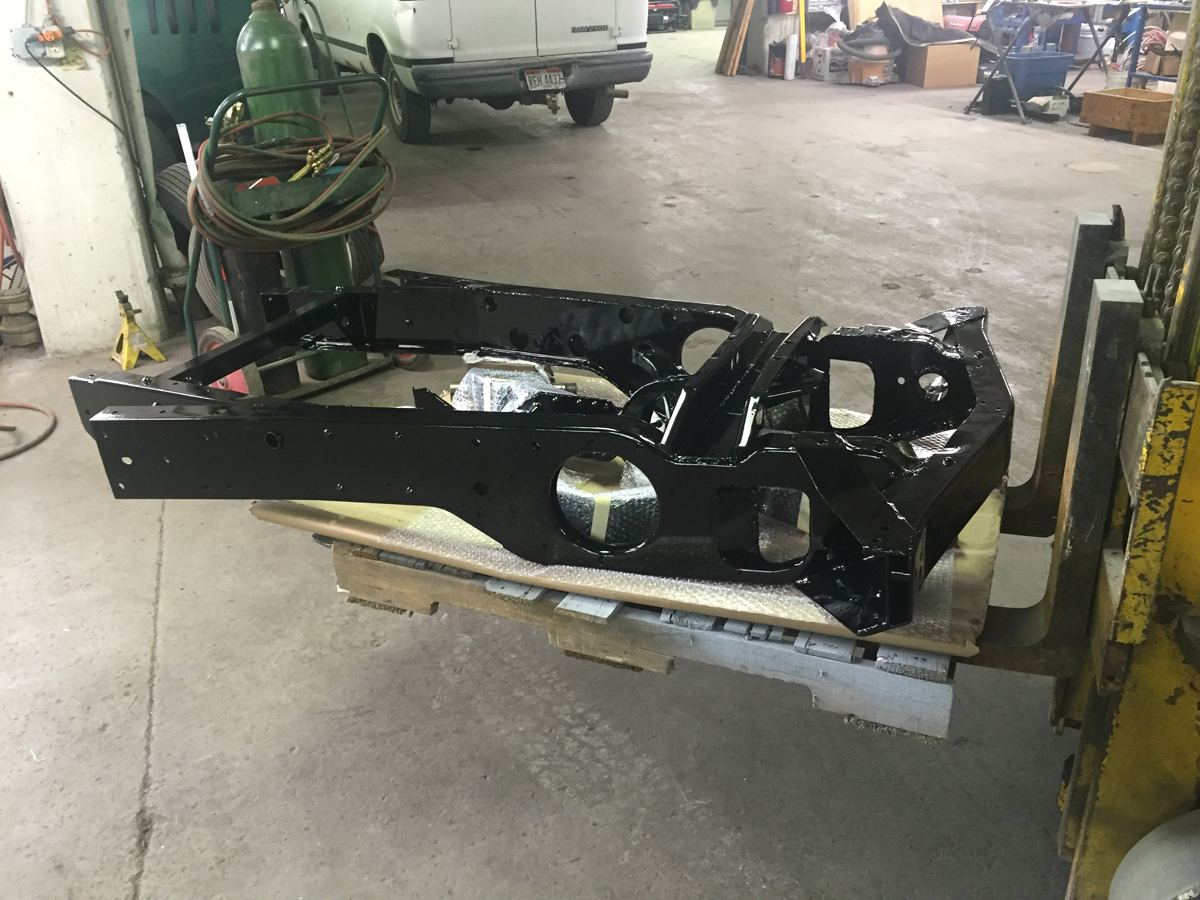
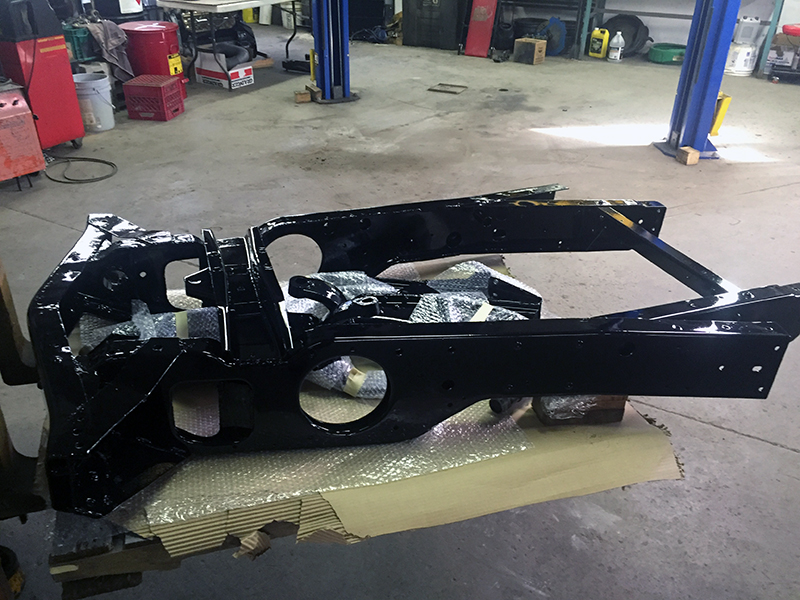
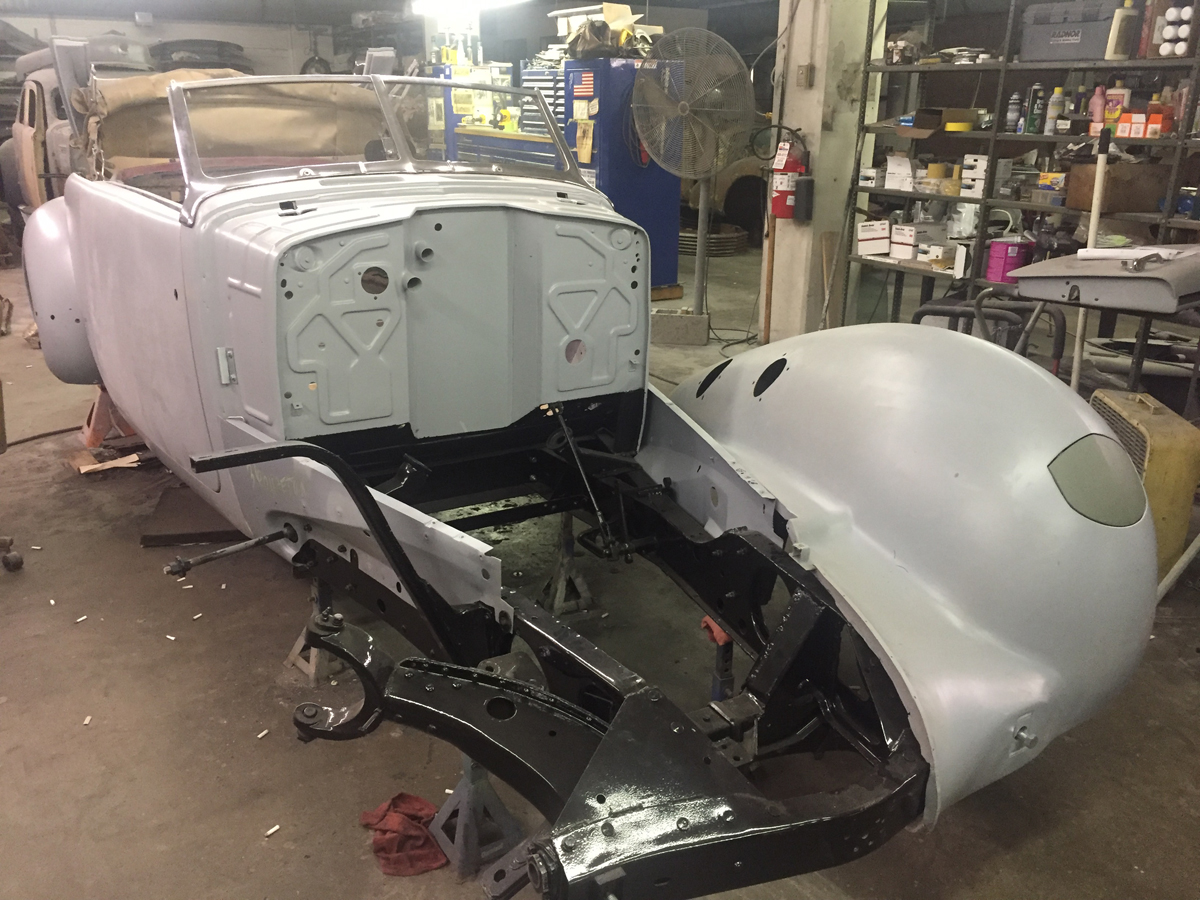
Frame Restoration
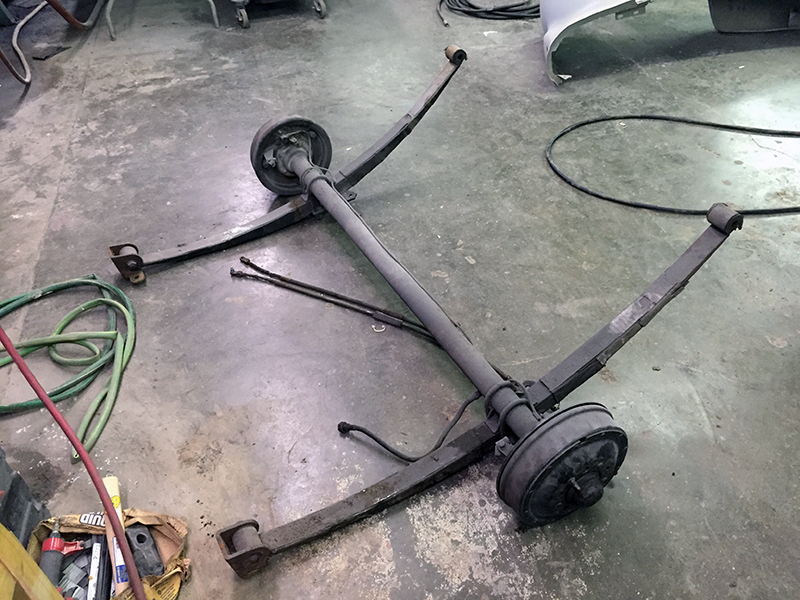
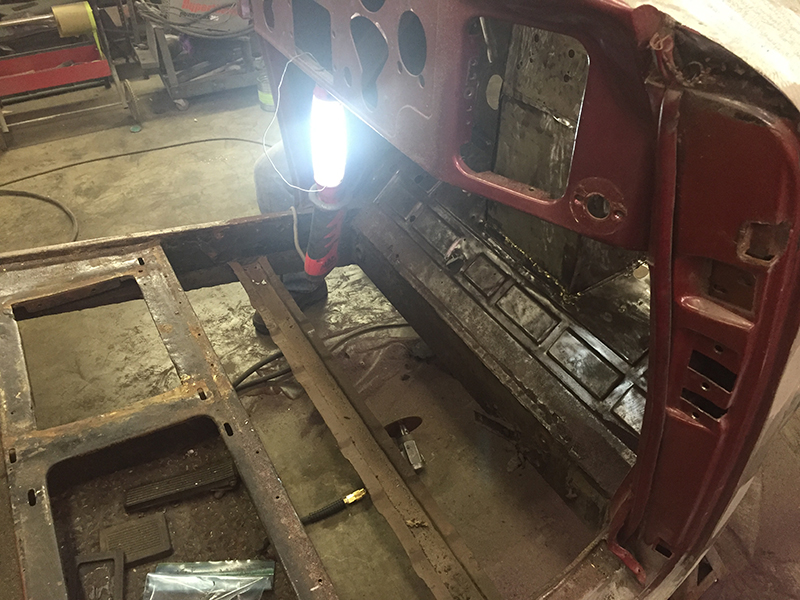
Frame and underbody components refined, blasted, and refinished.
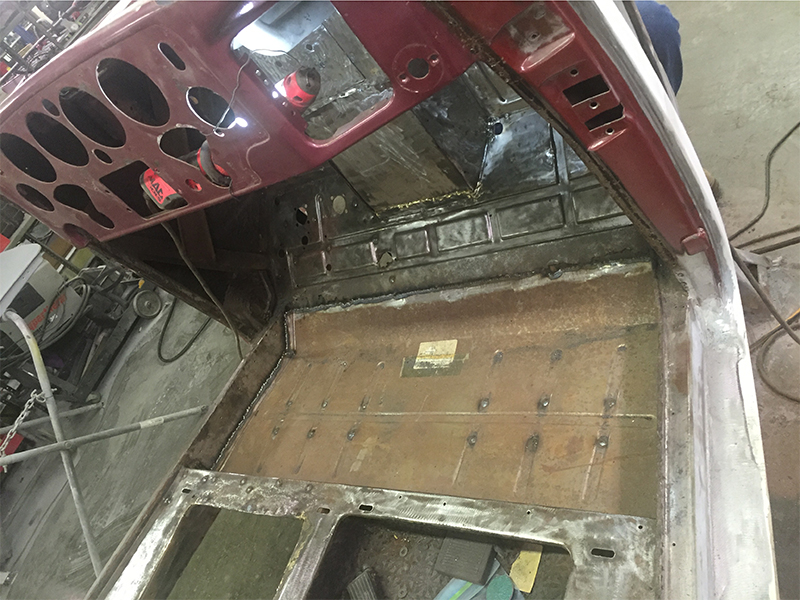
Metalwork
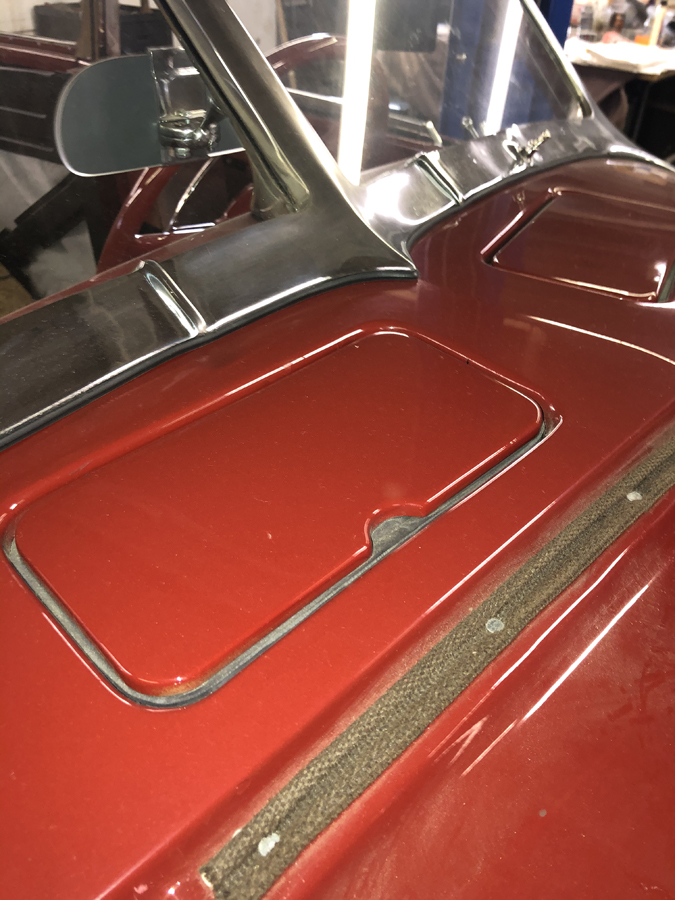
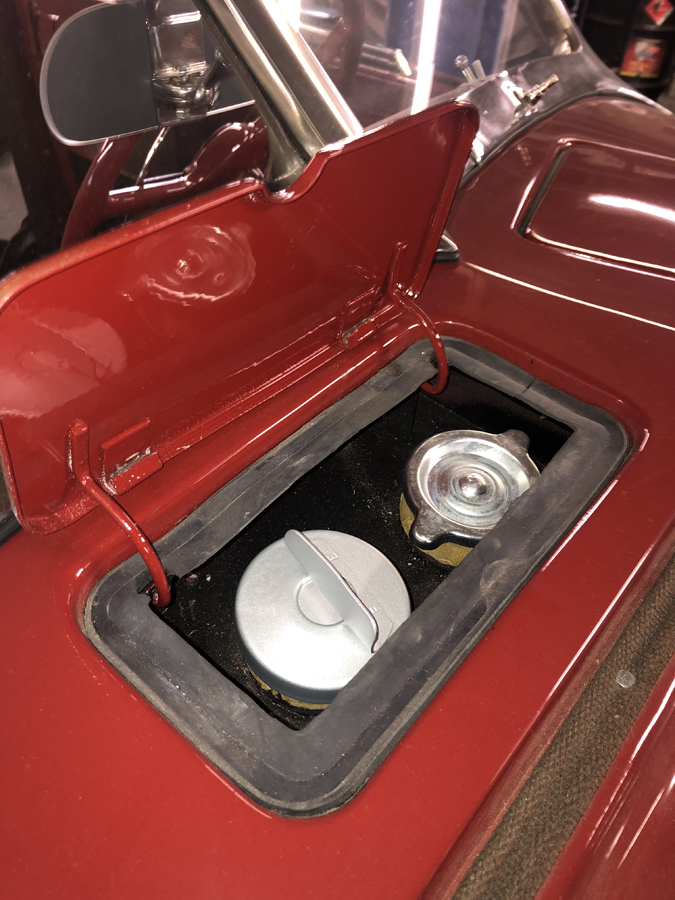
Water and Oil Filler
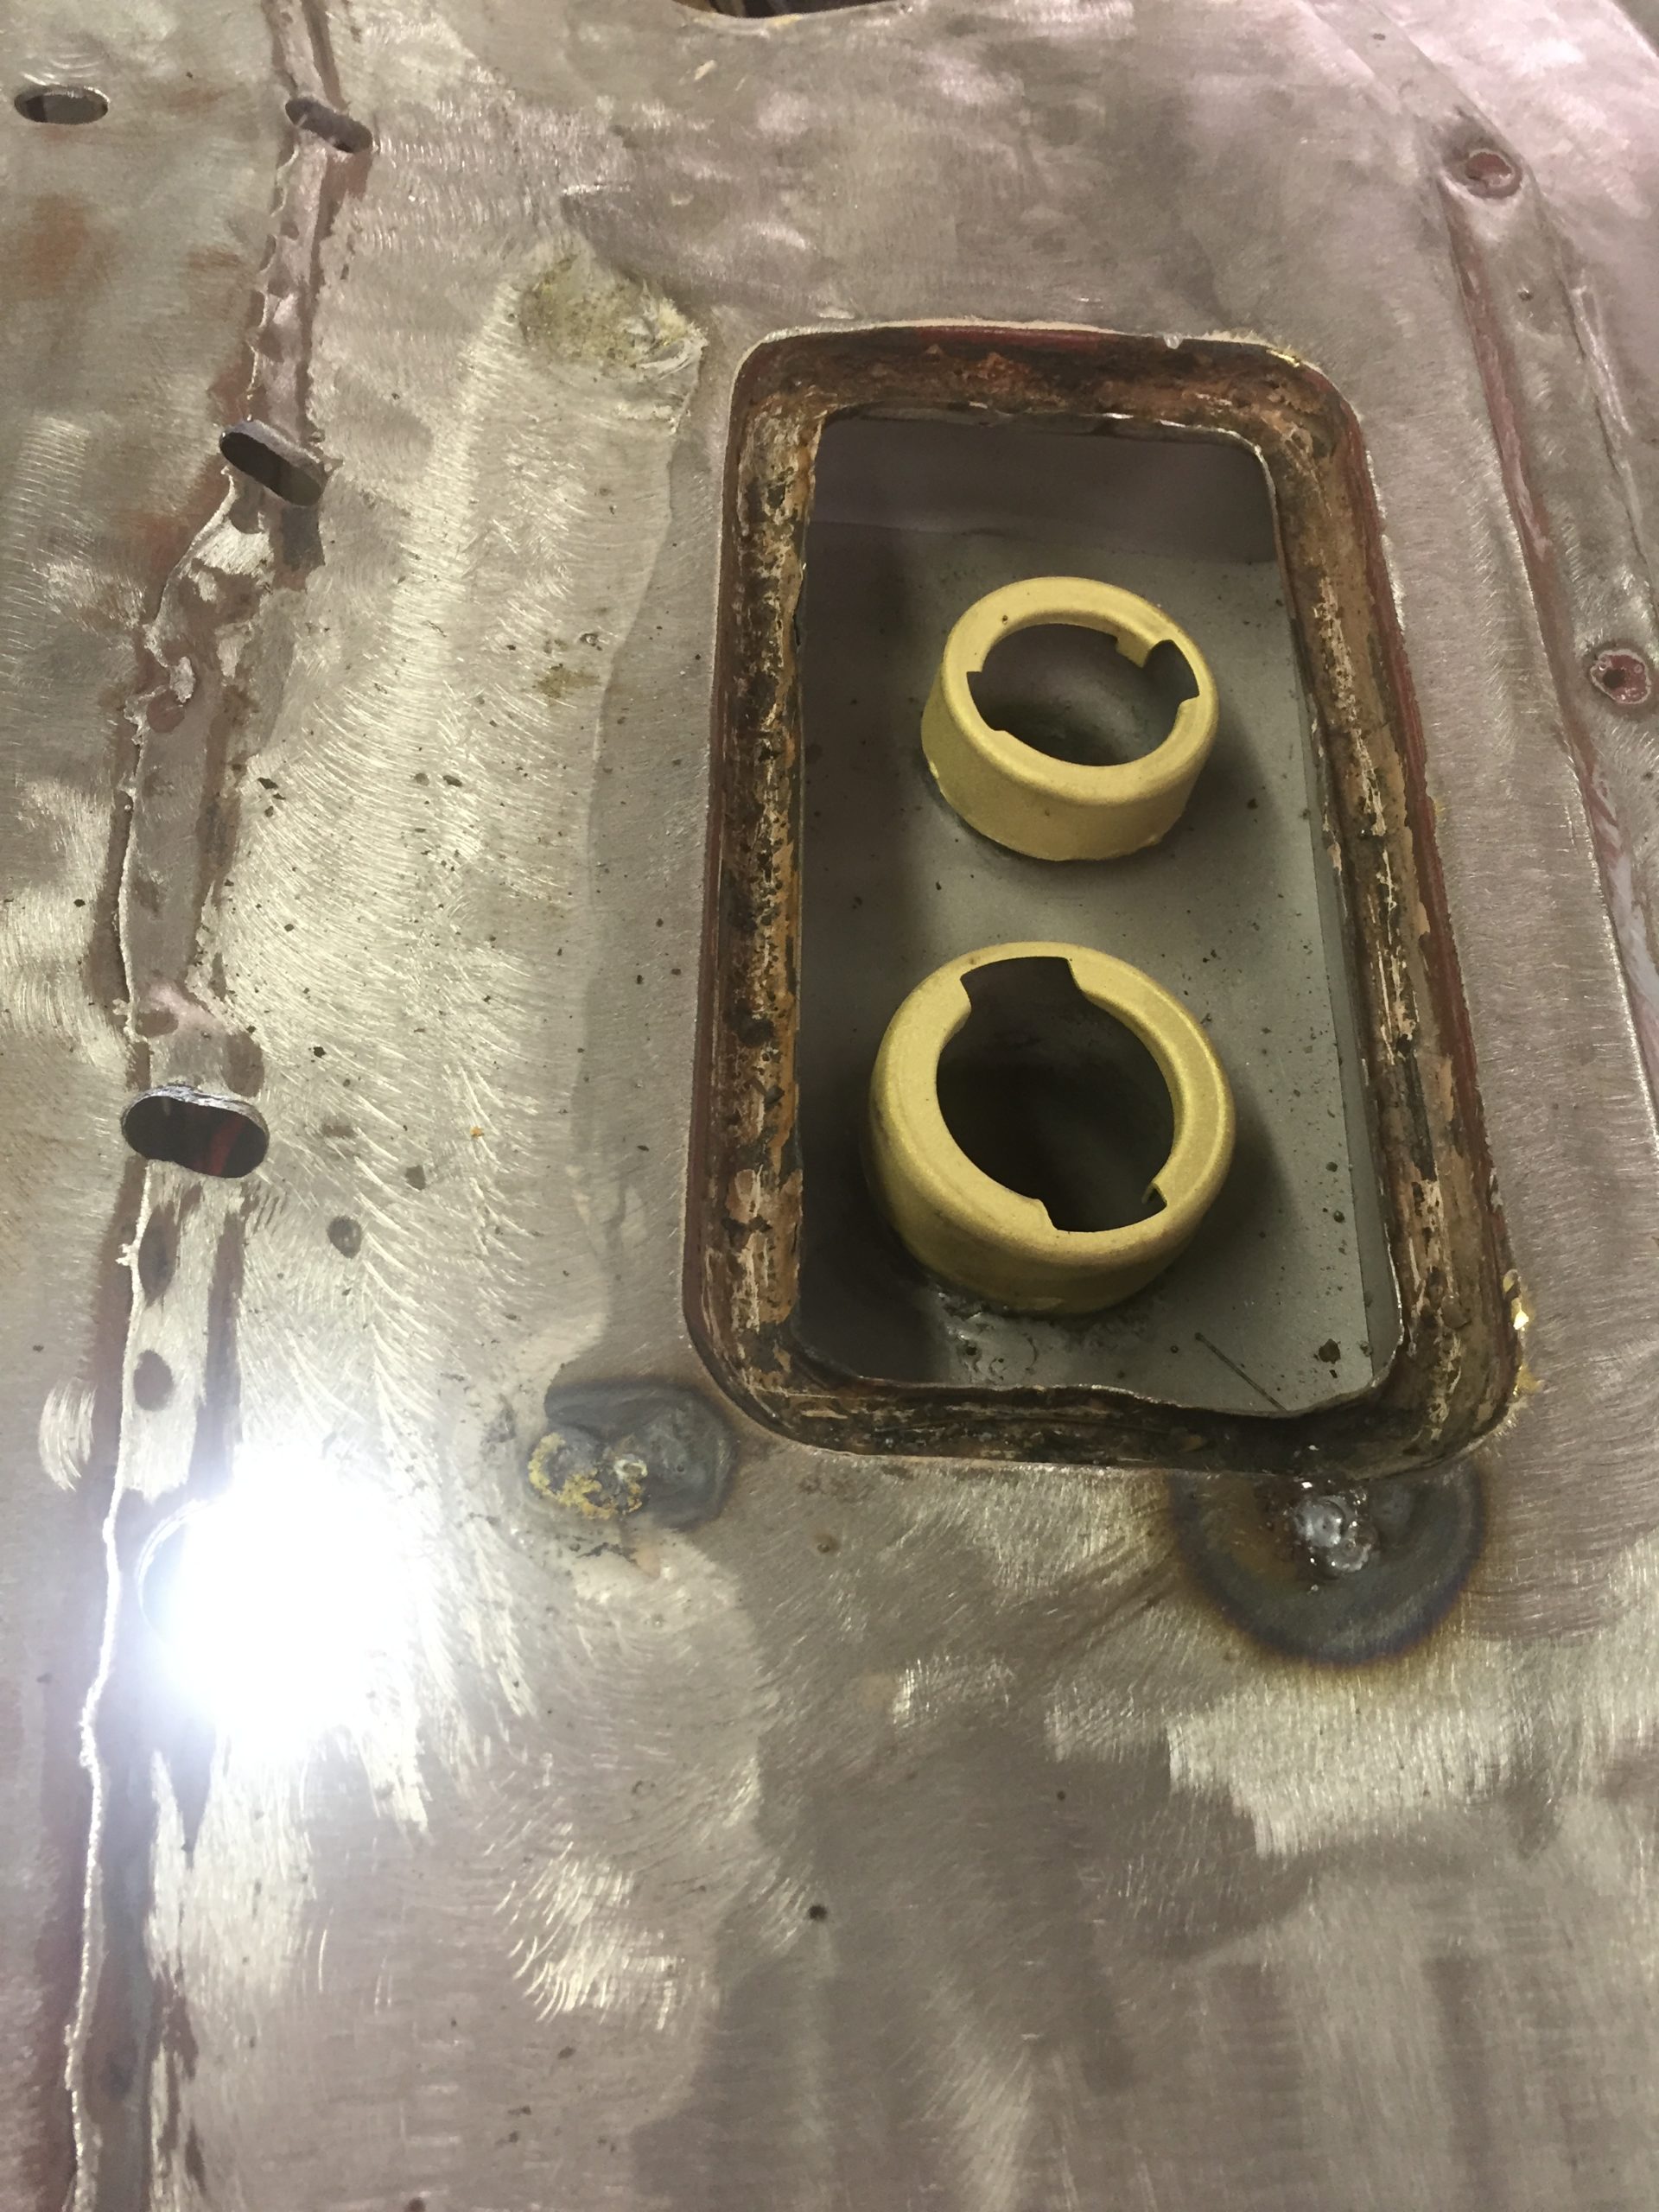
Fluid filler compartment disassembled, rebuilt, and re-trimmed.
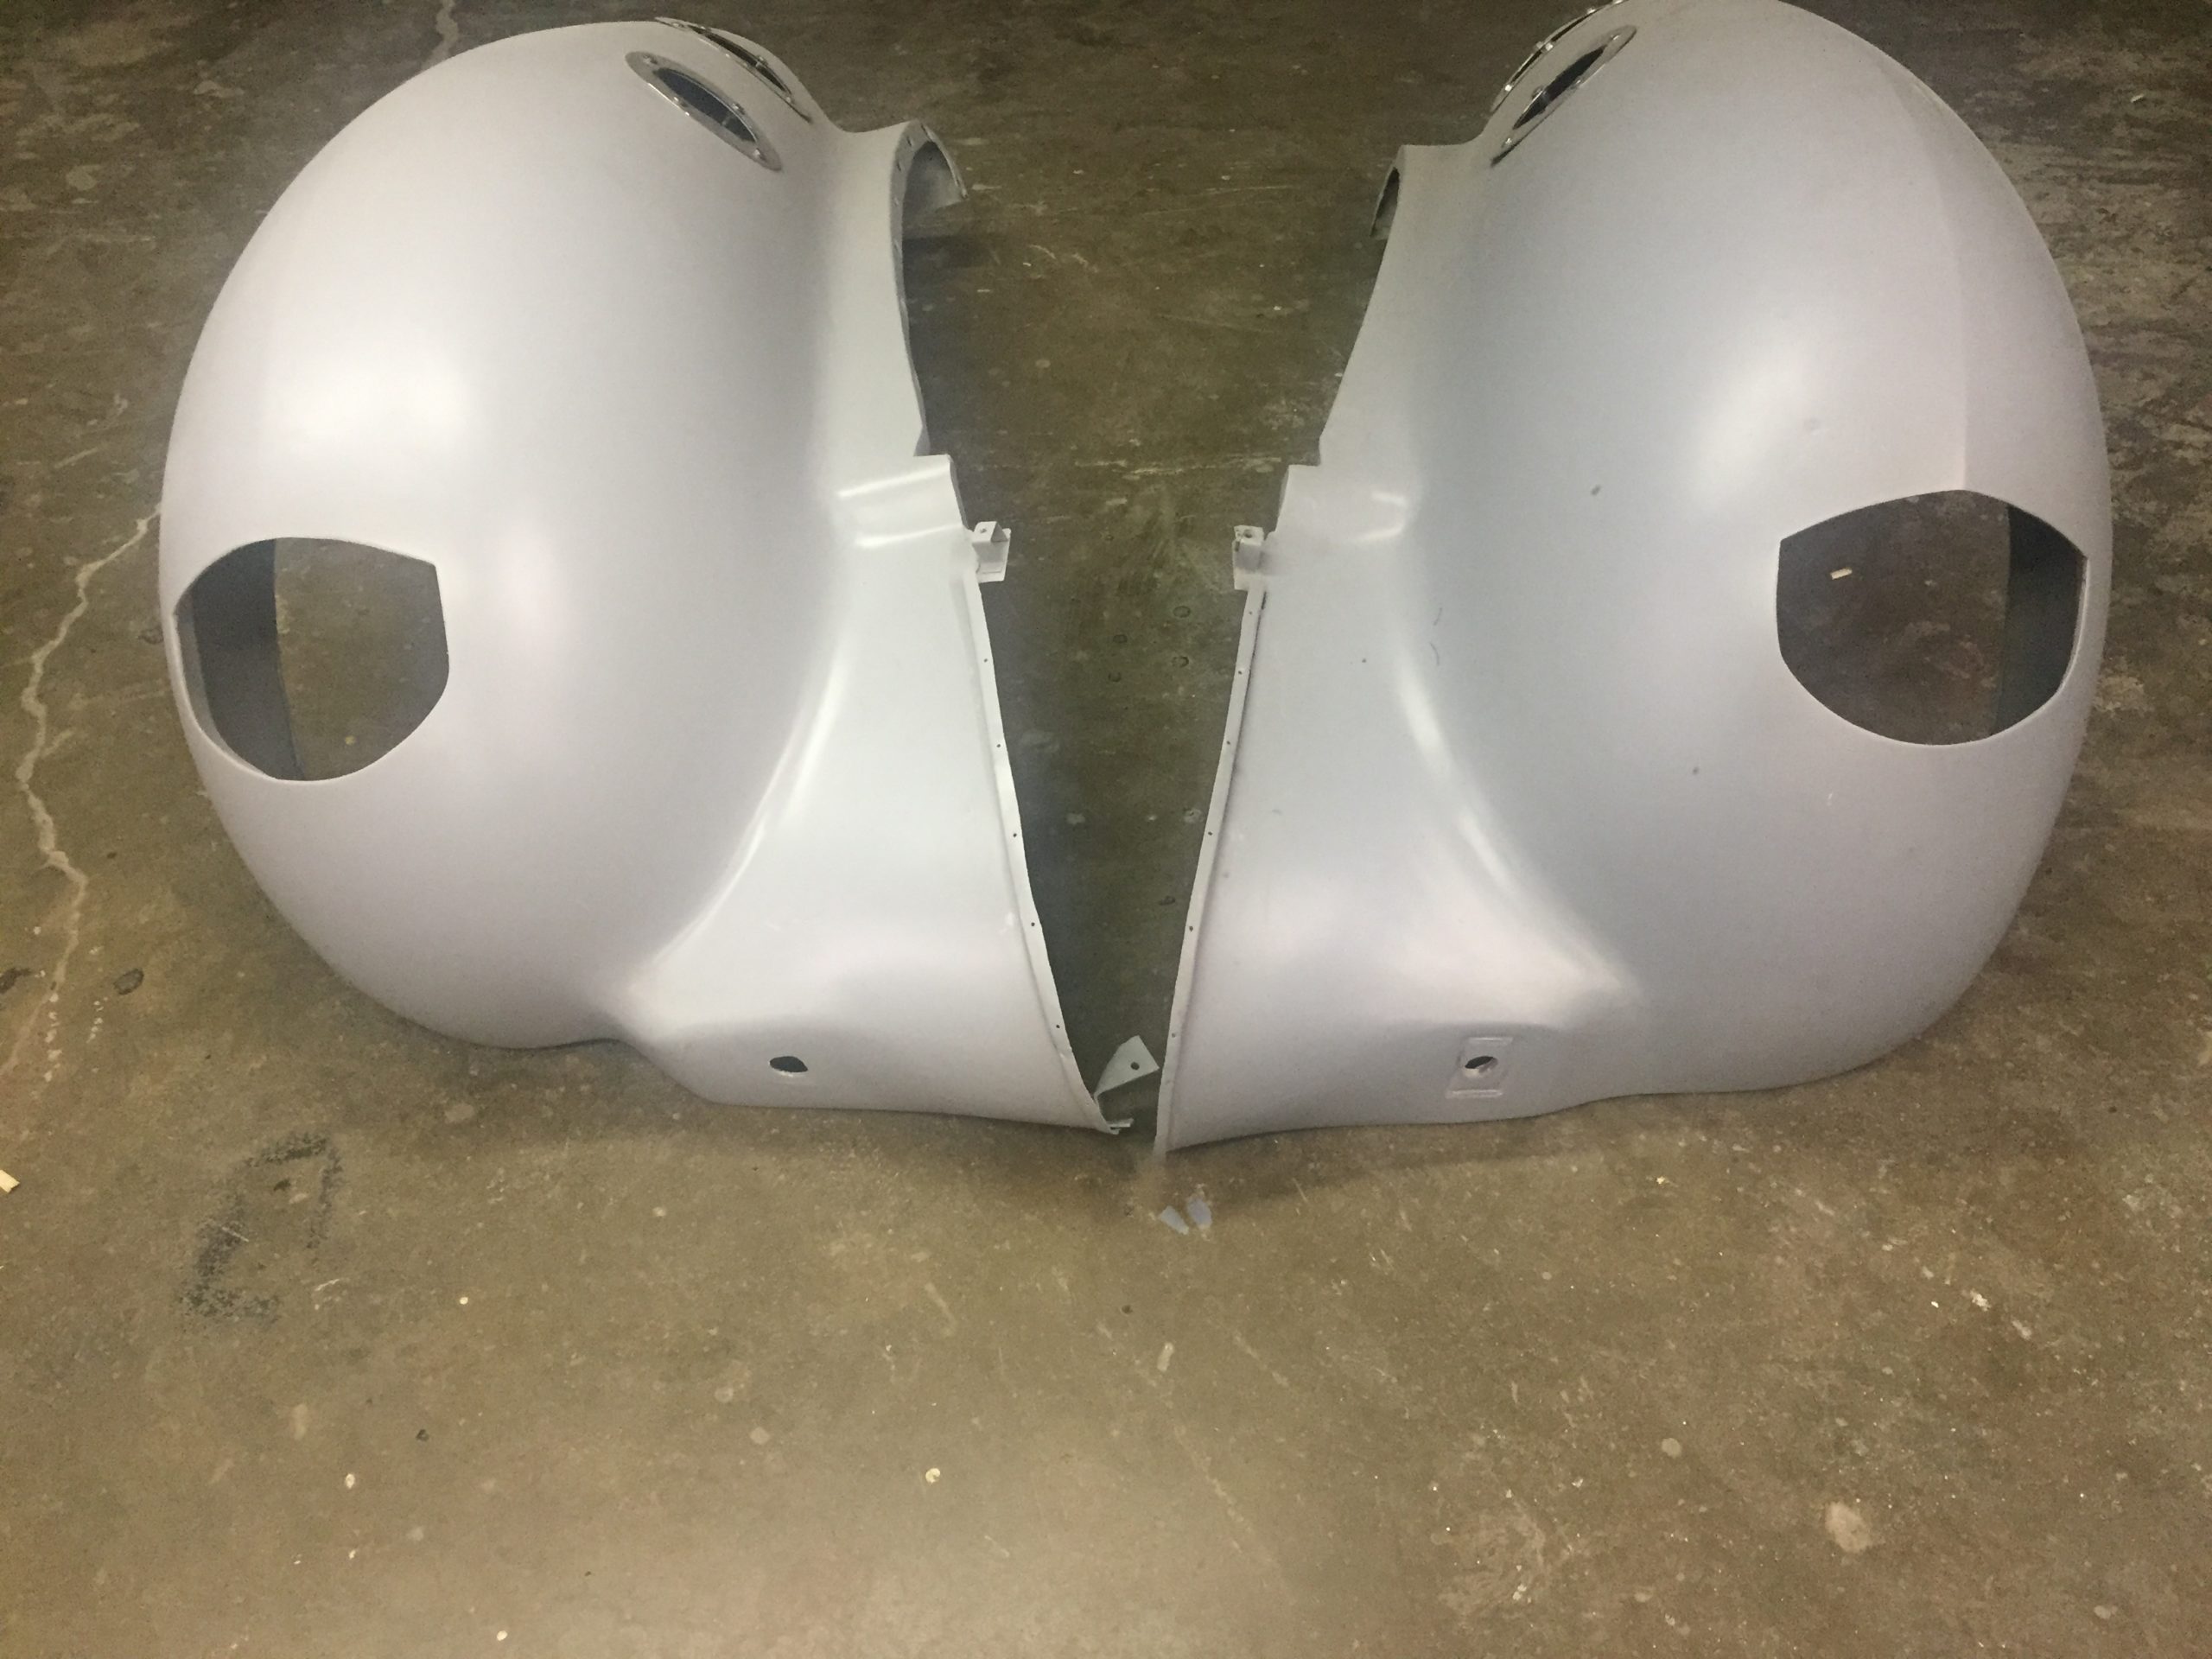
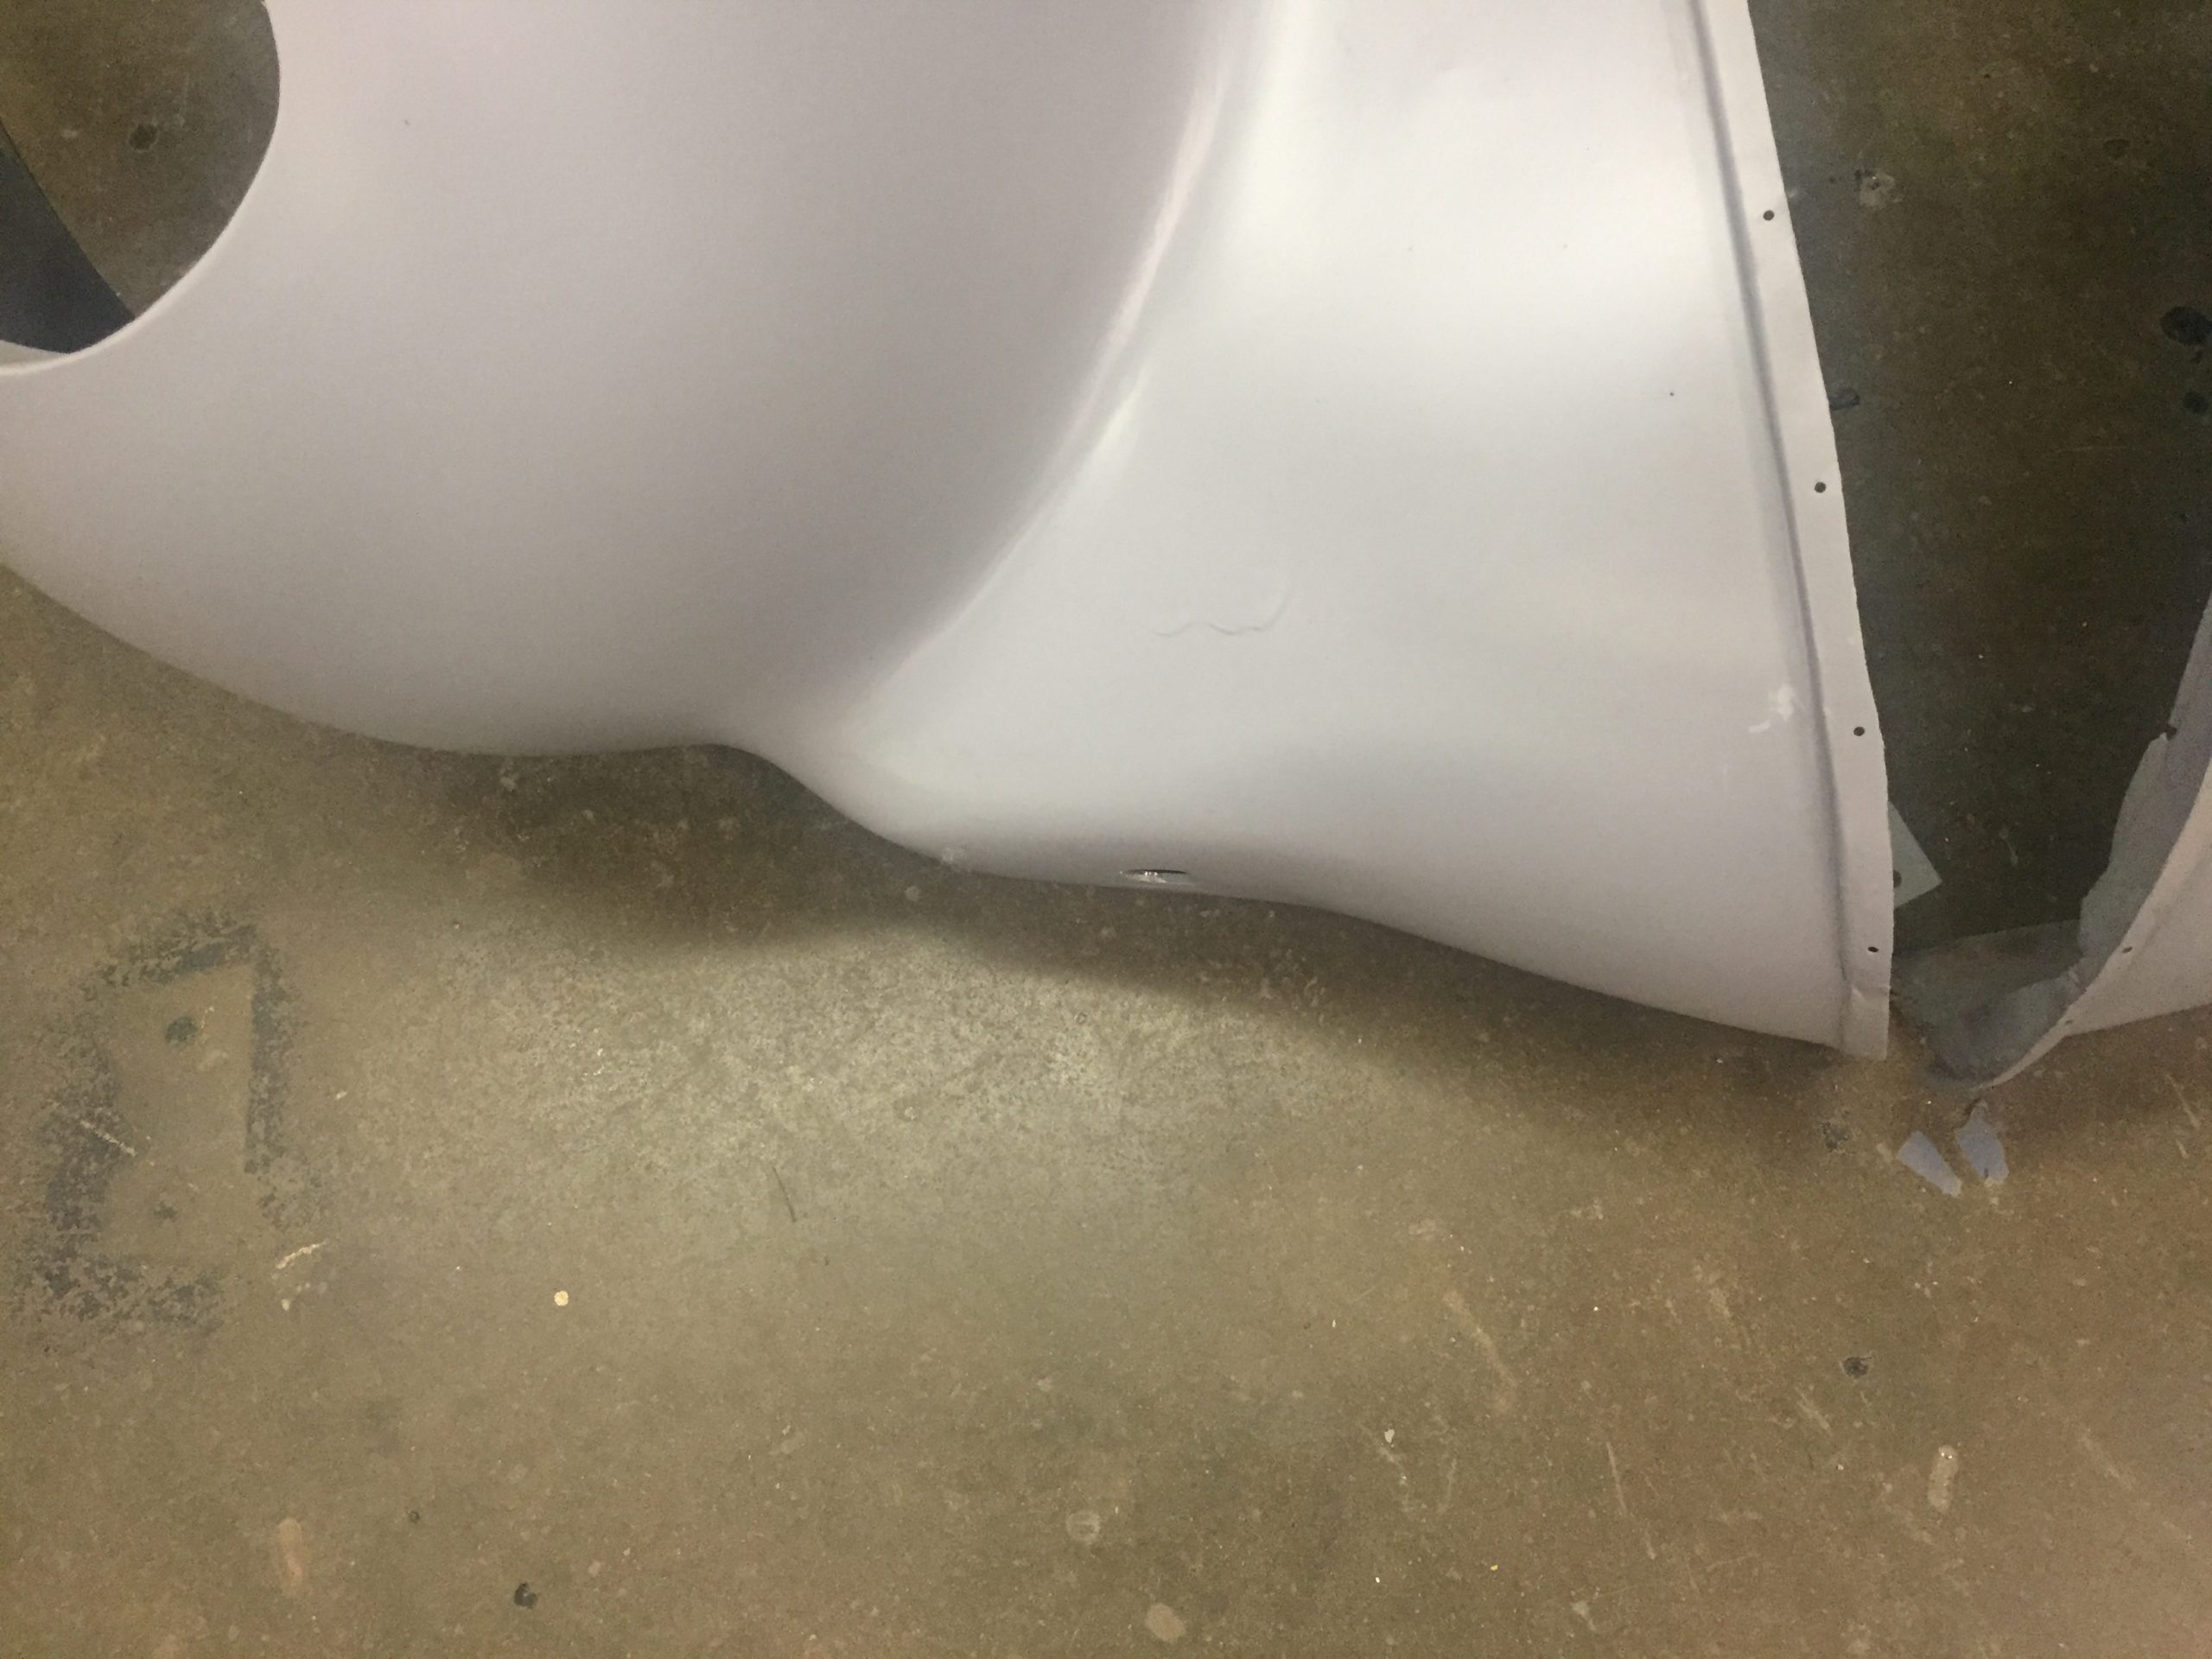
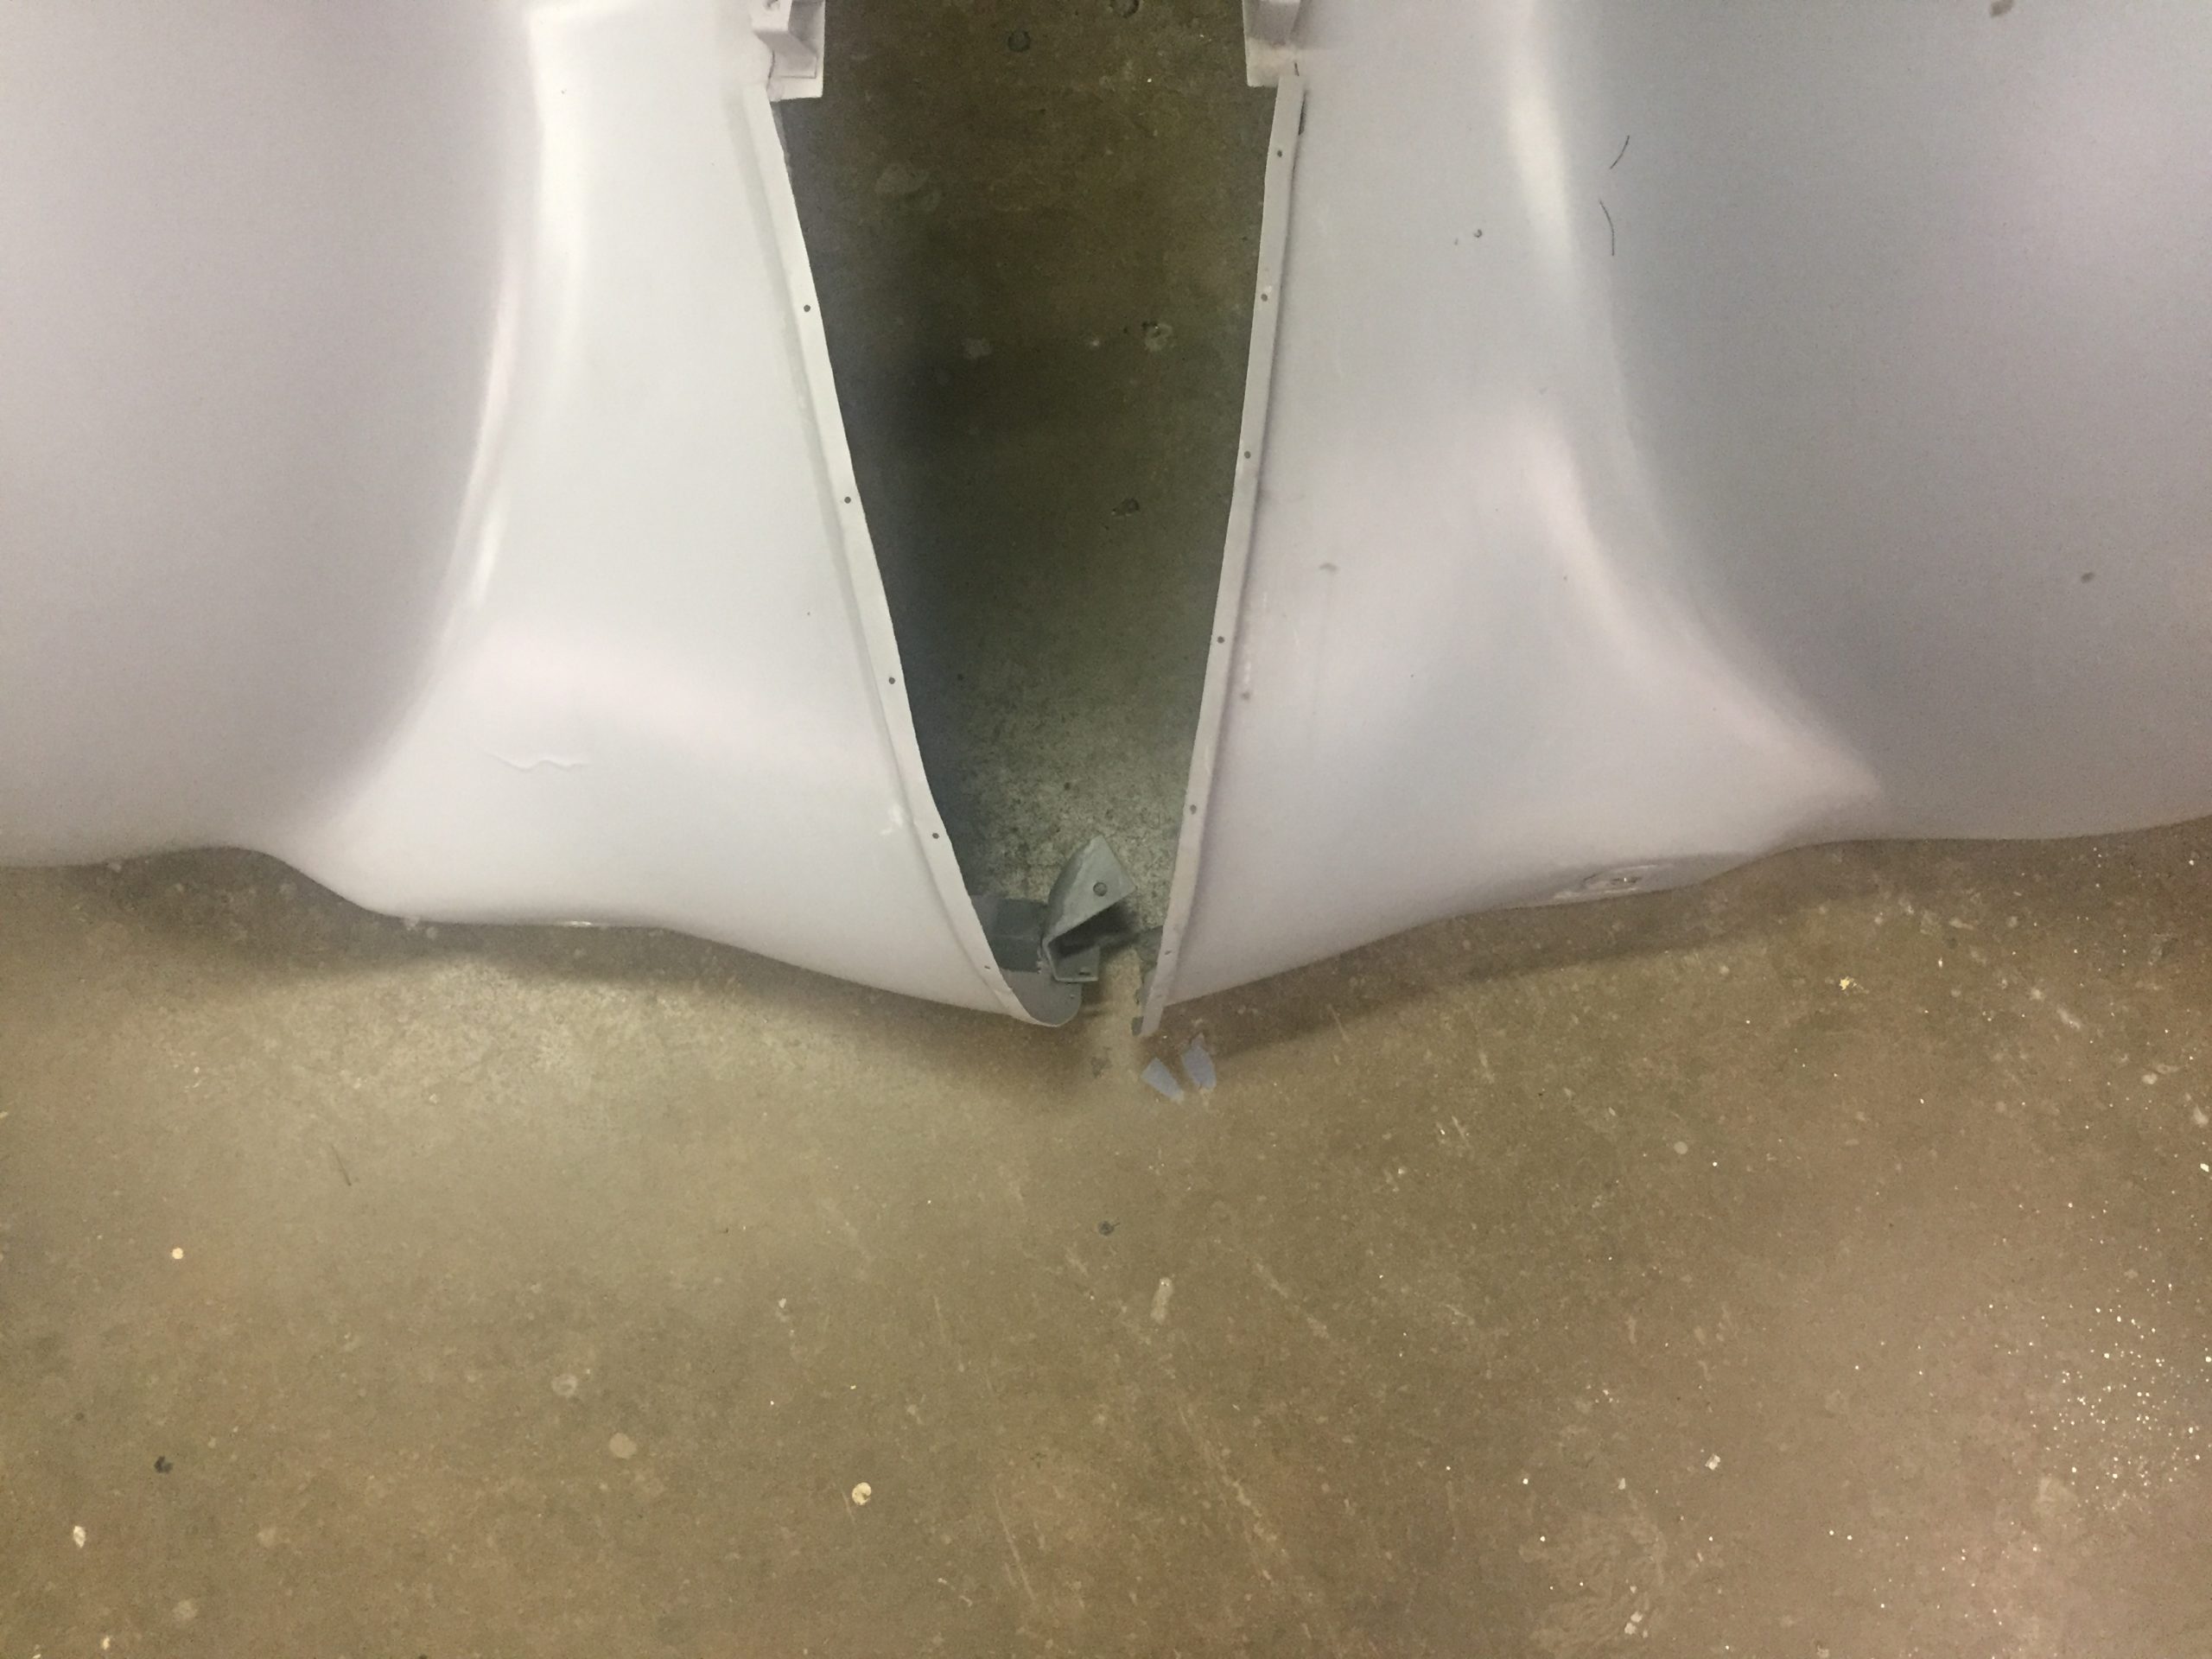
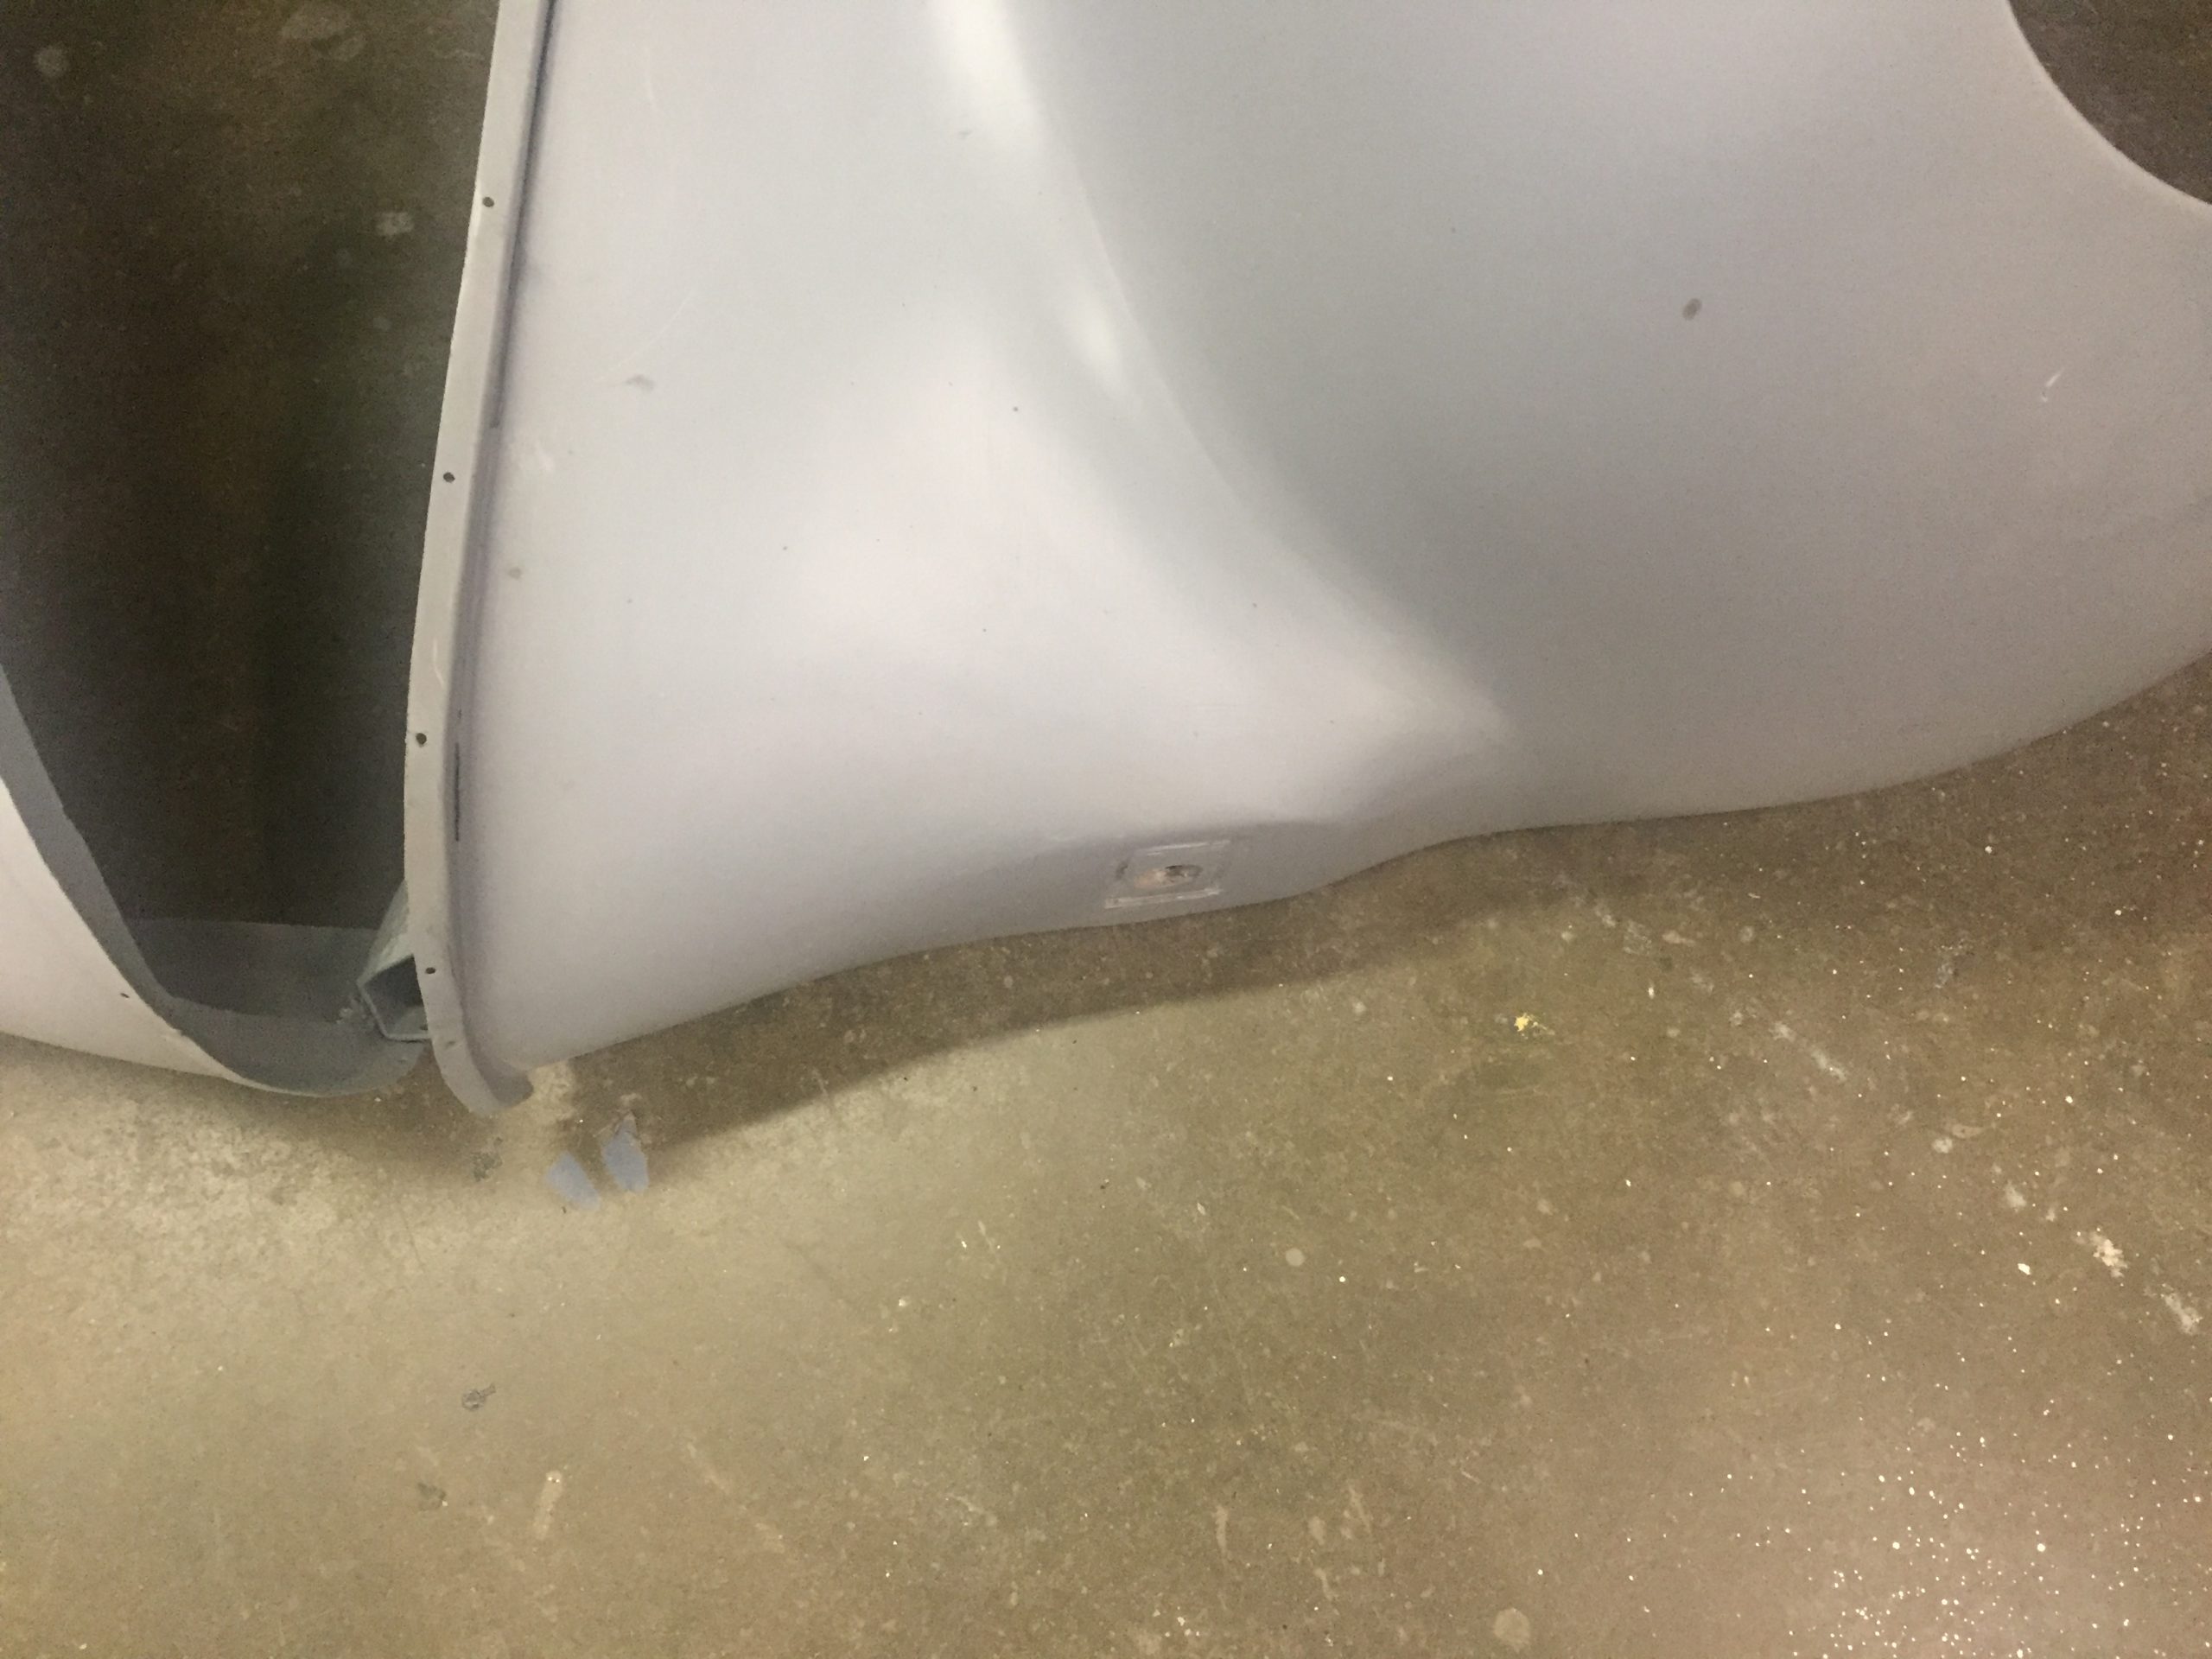
Front Fenders Replacement and Refinement
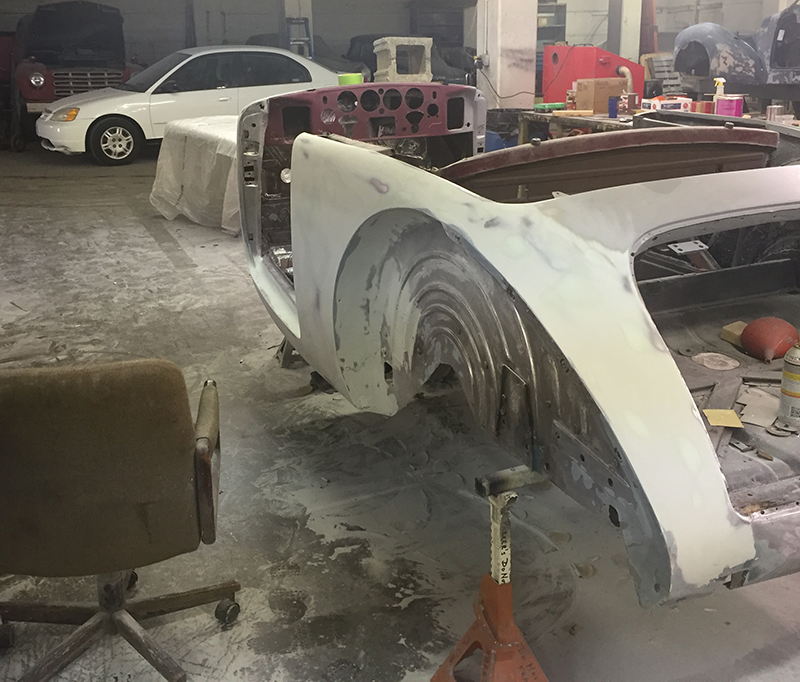
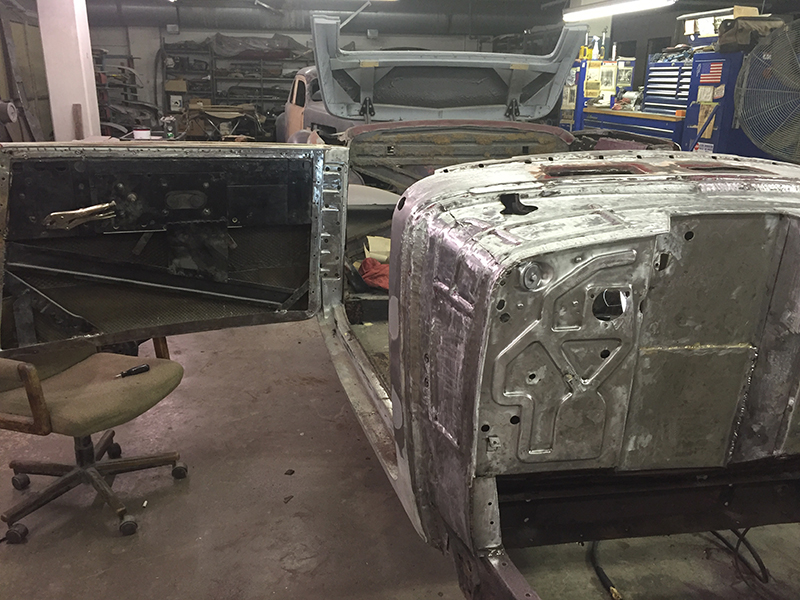
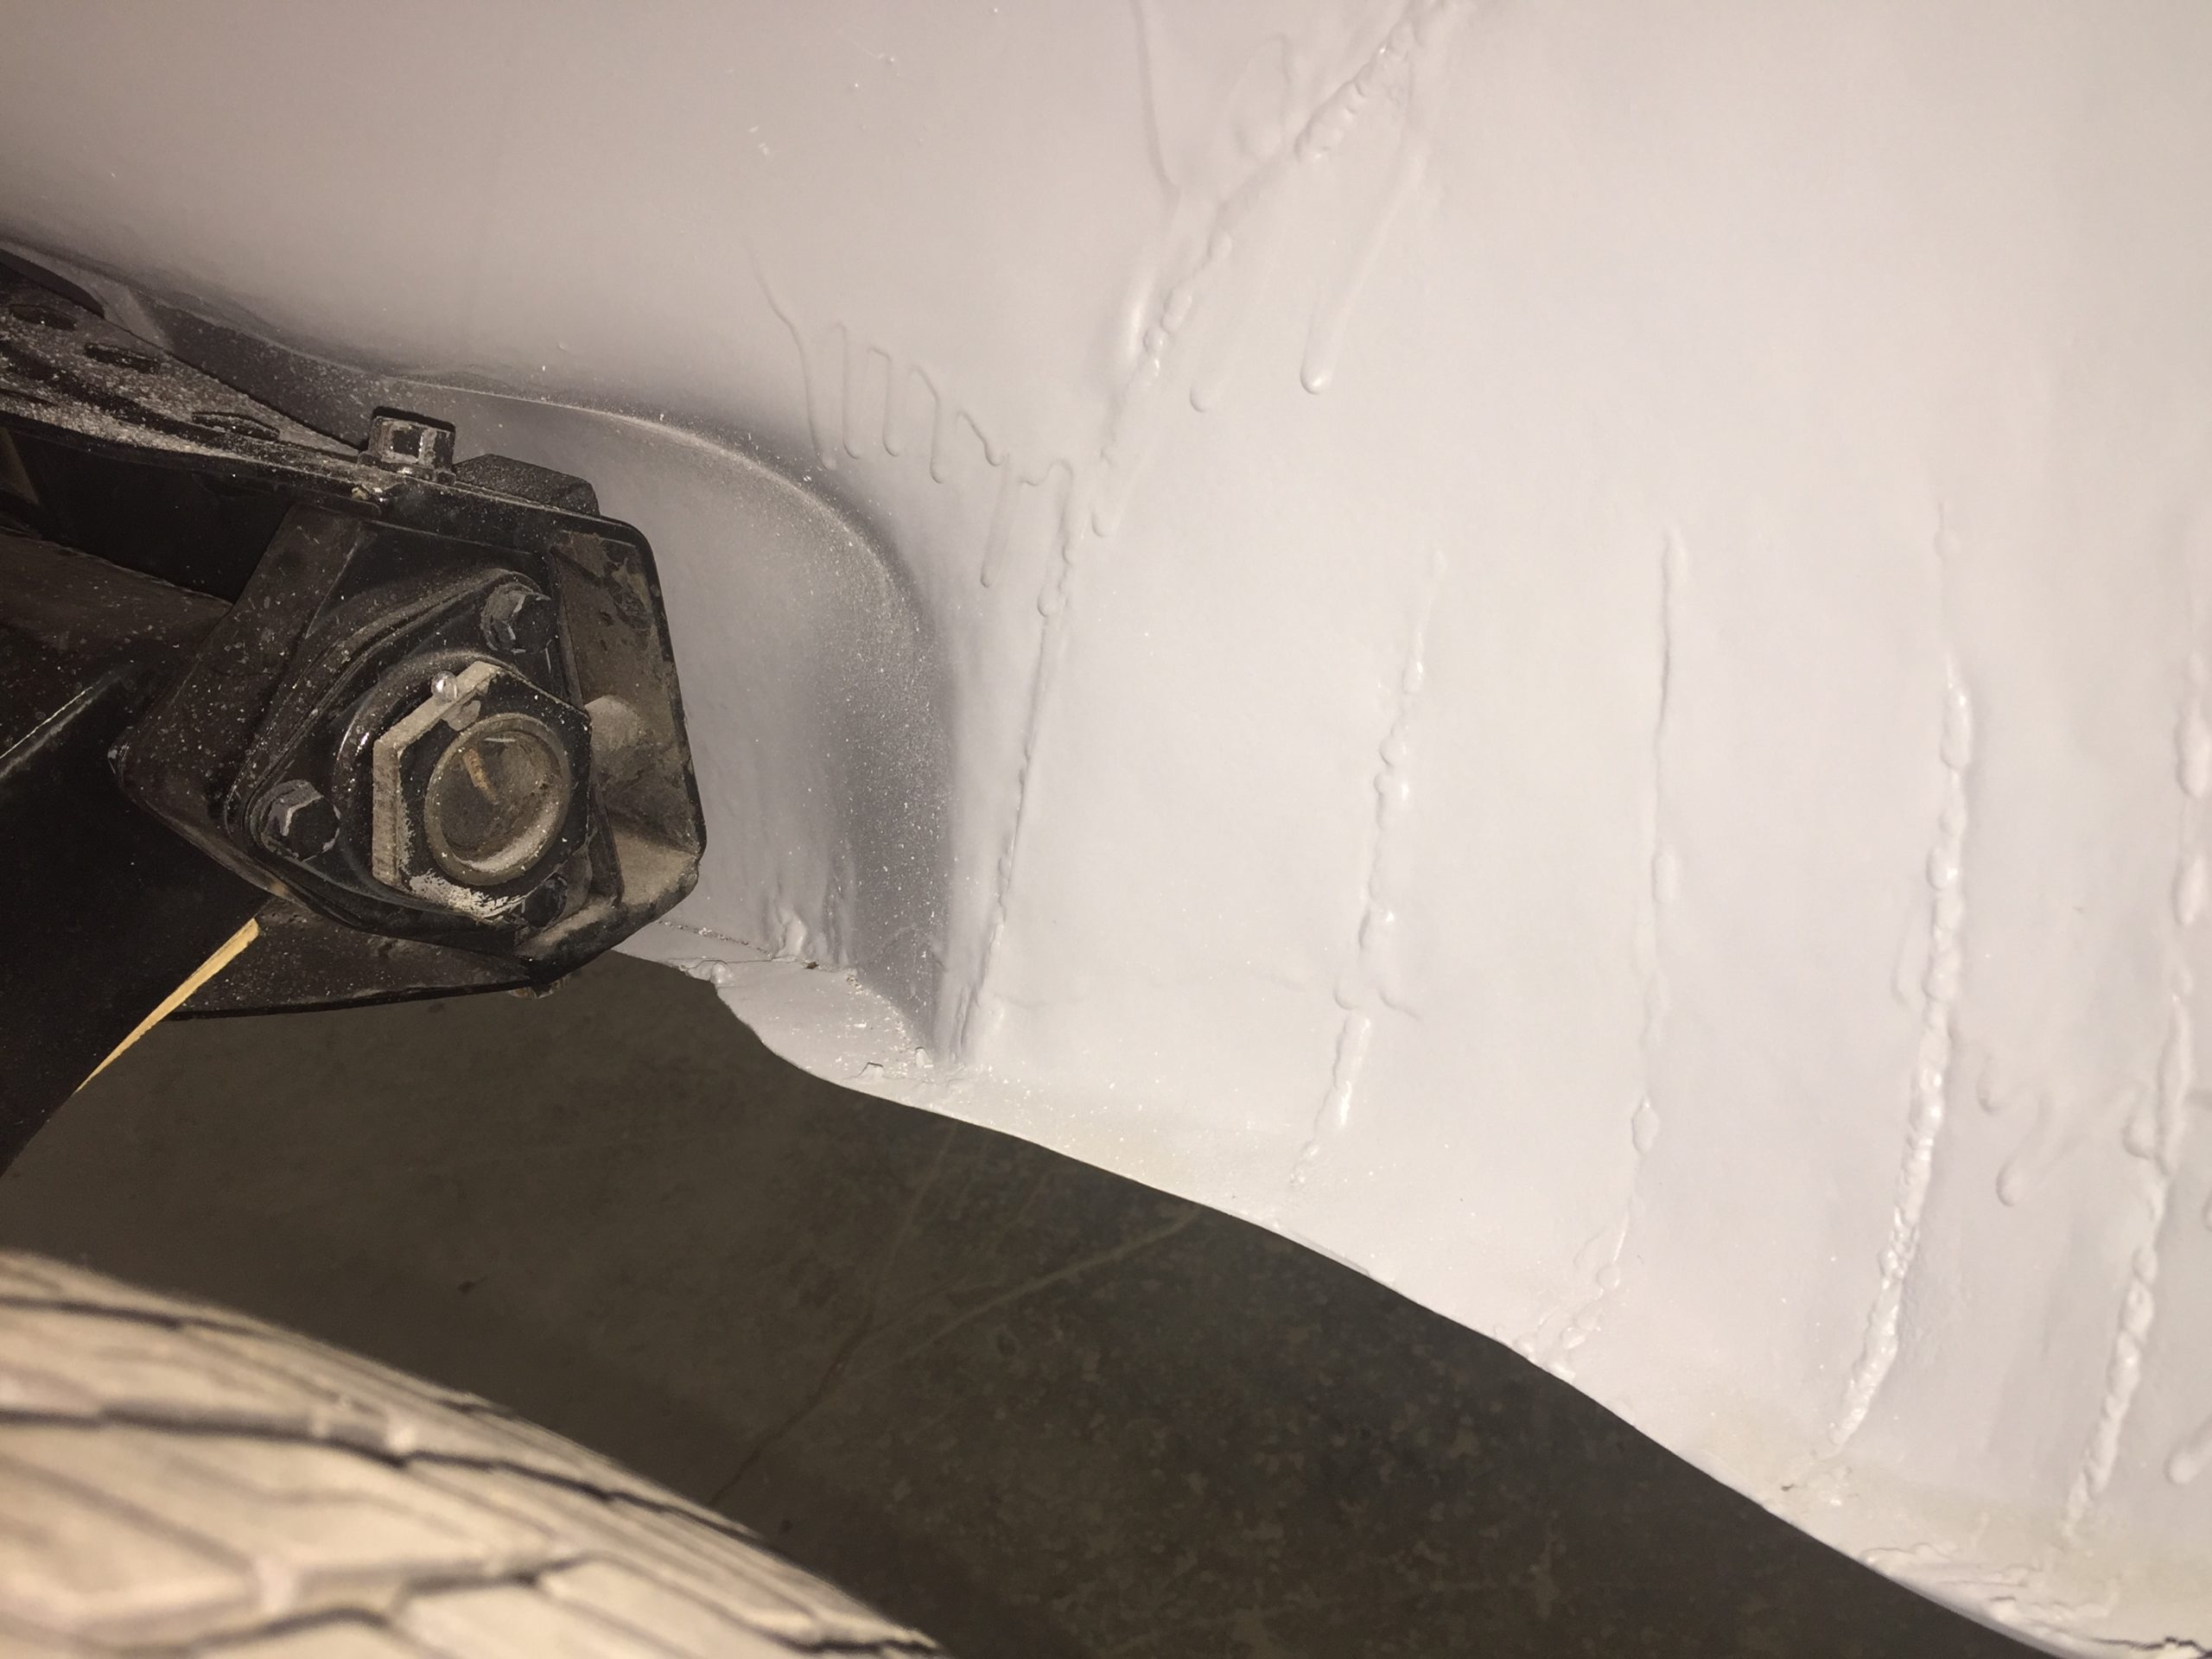
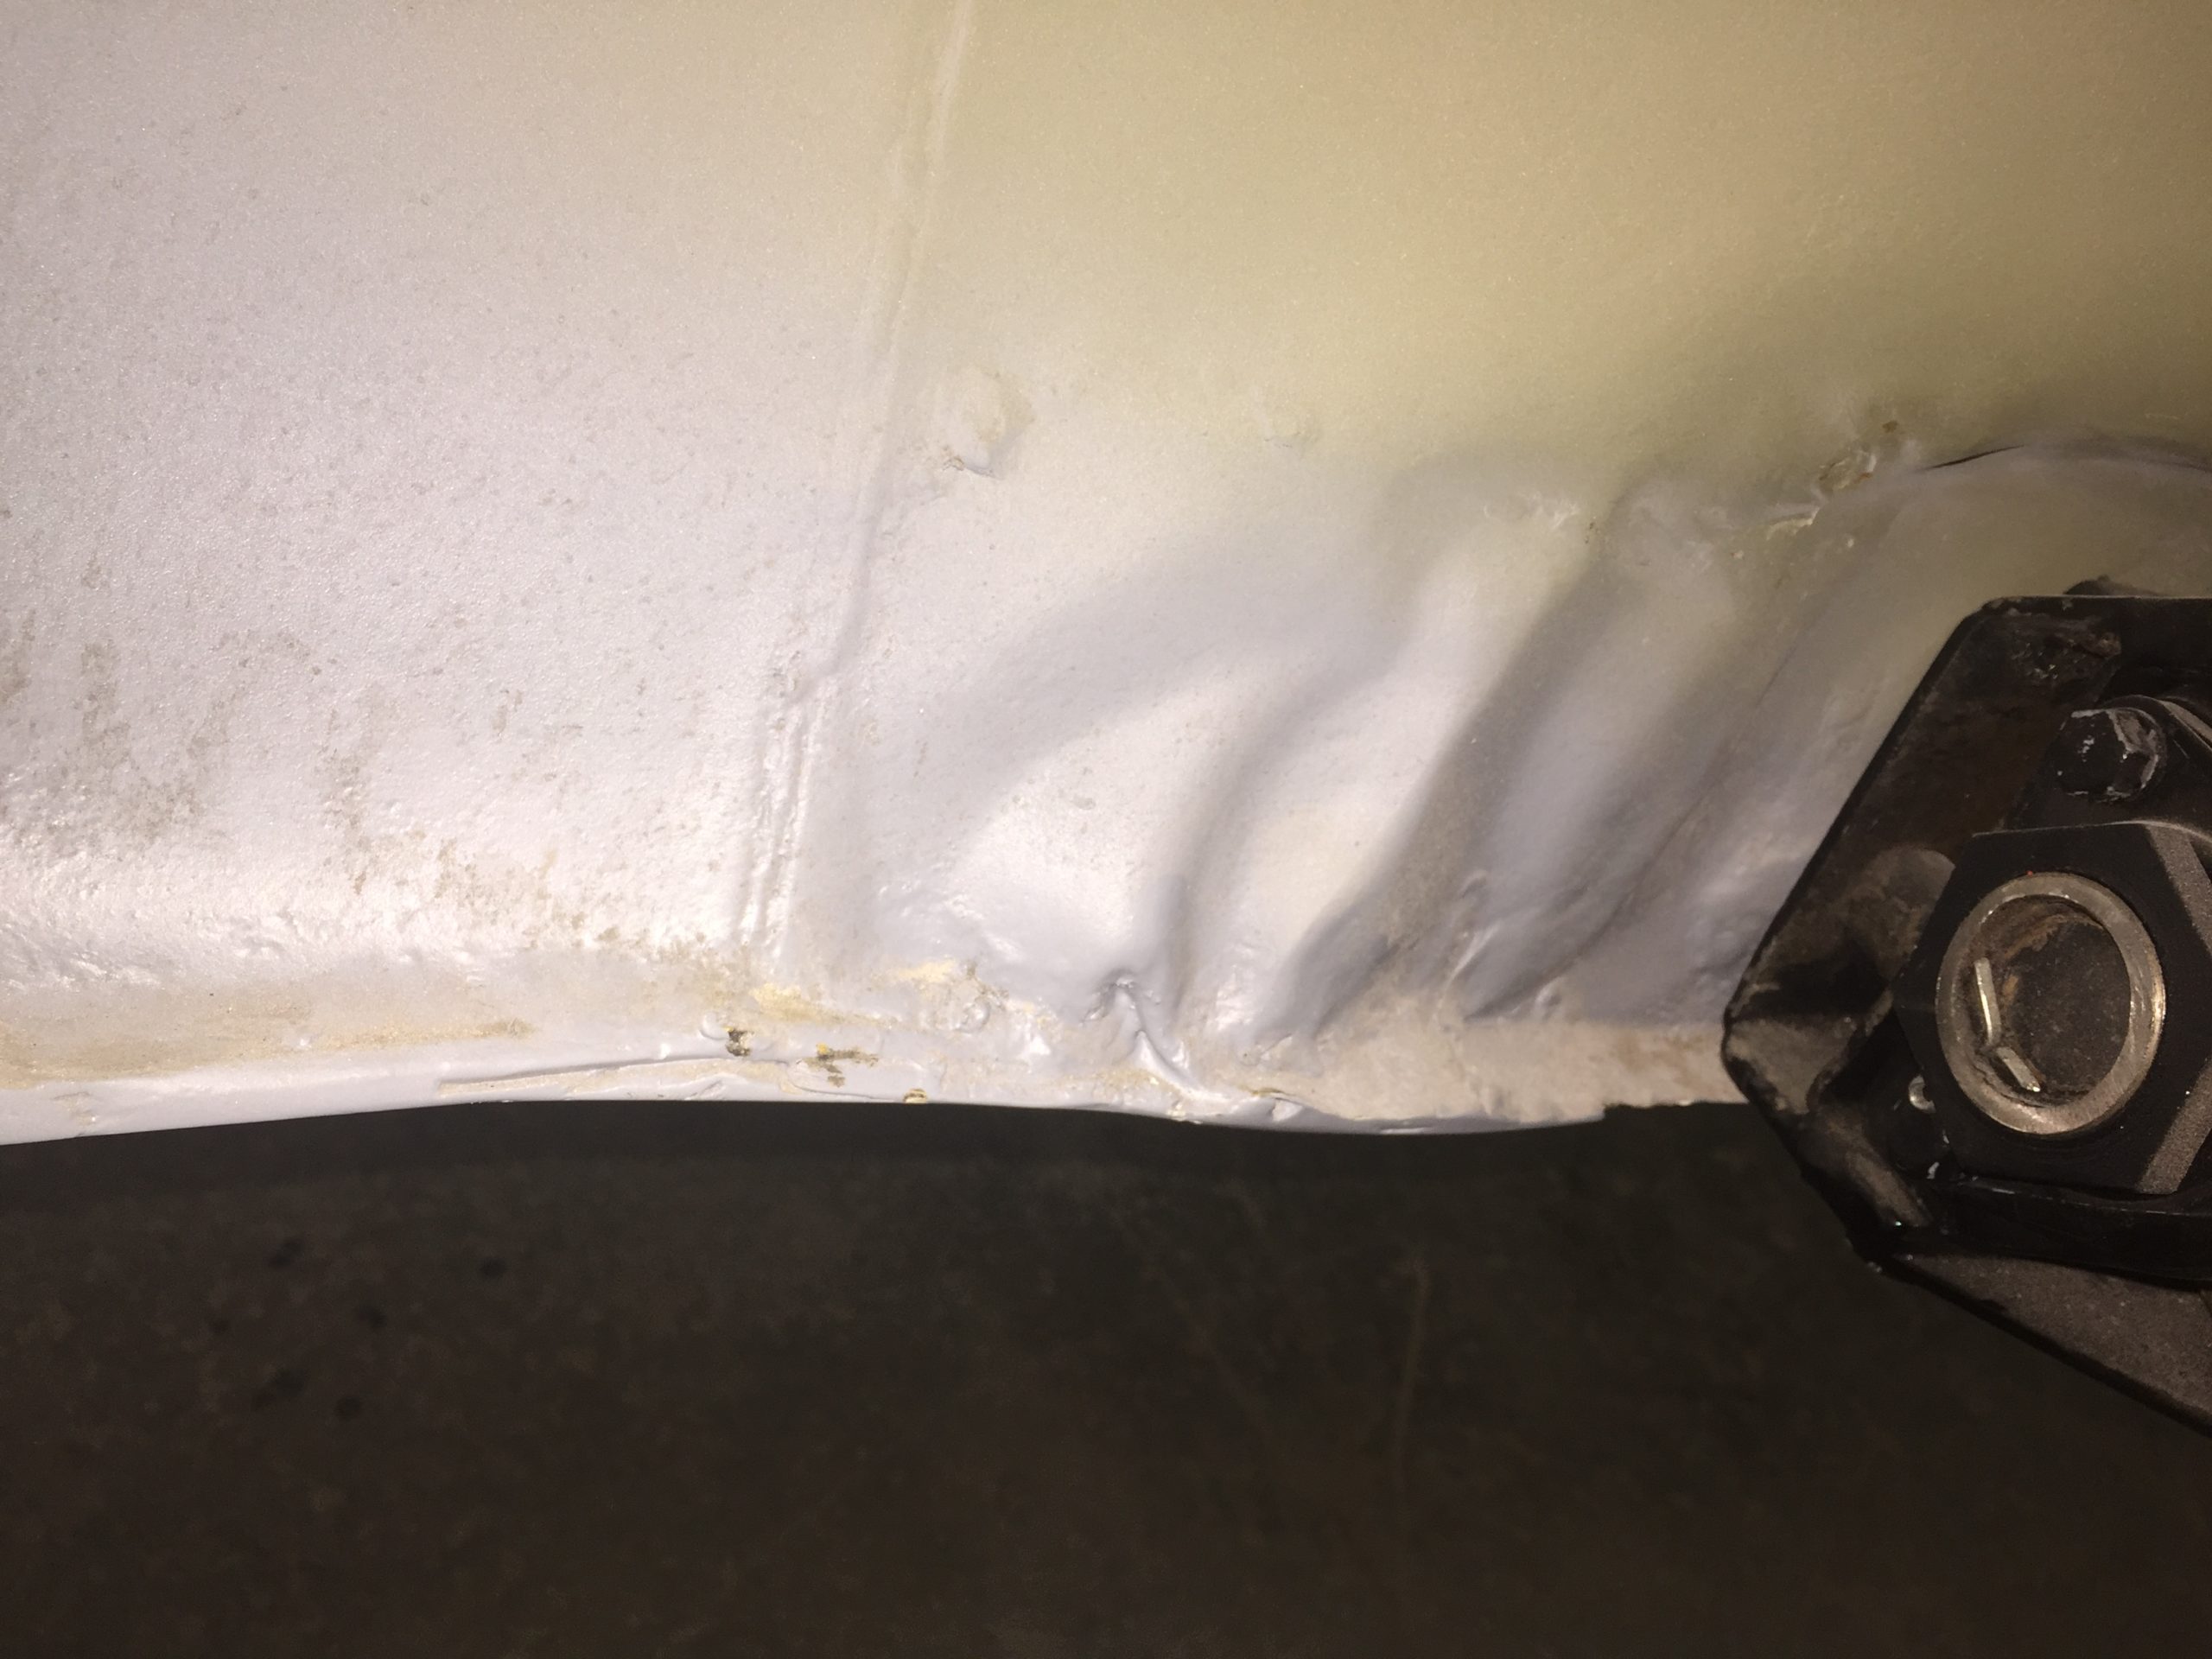
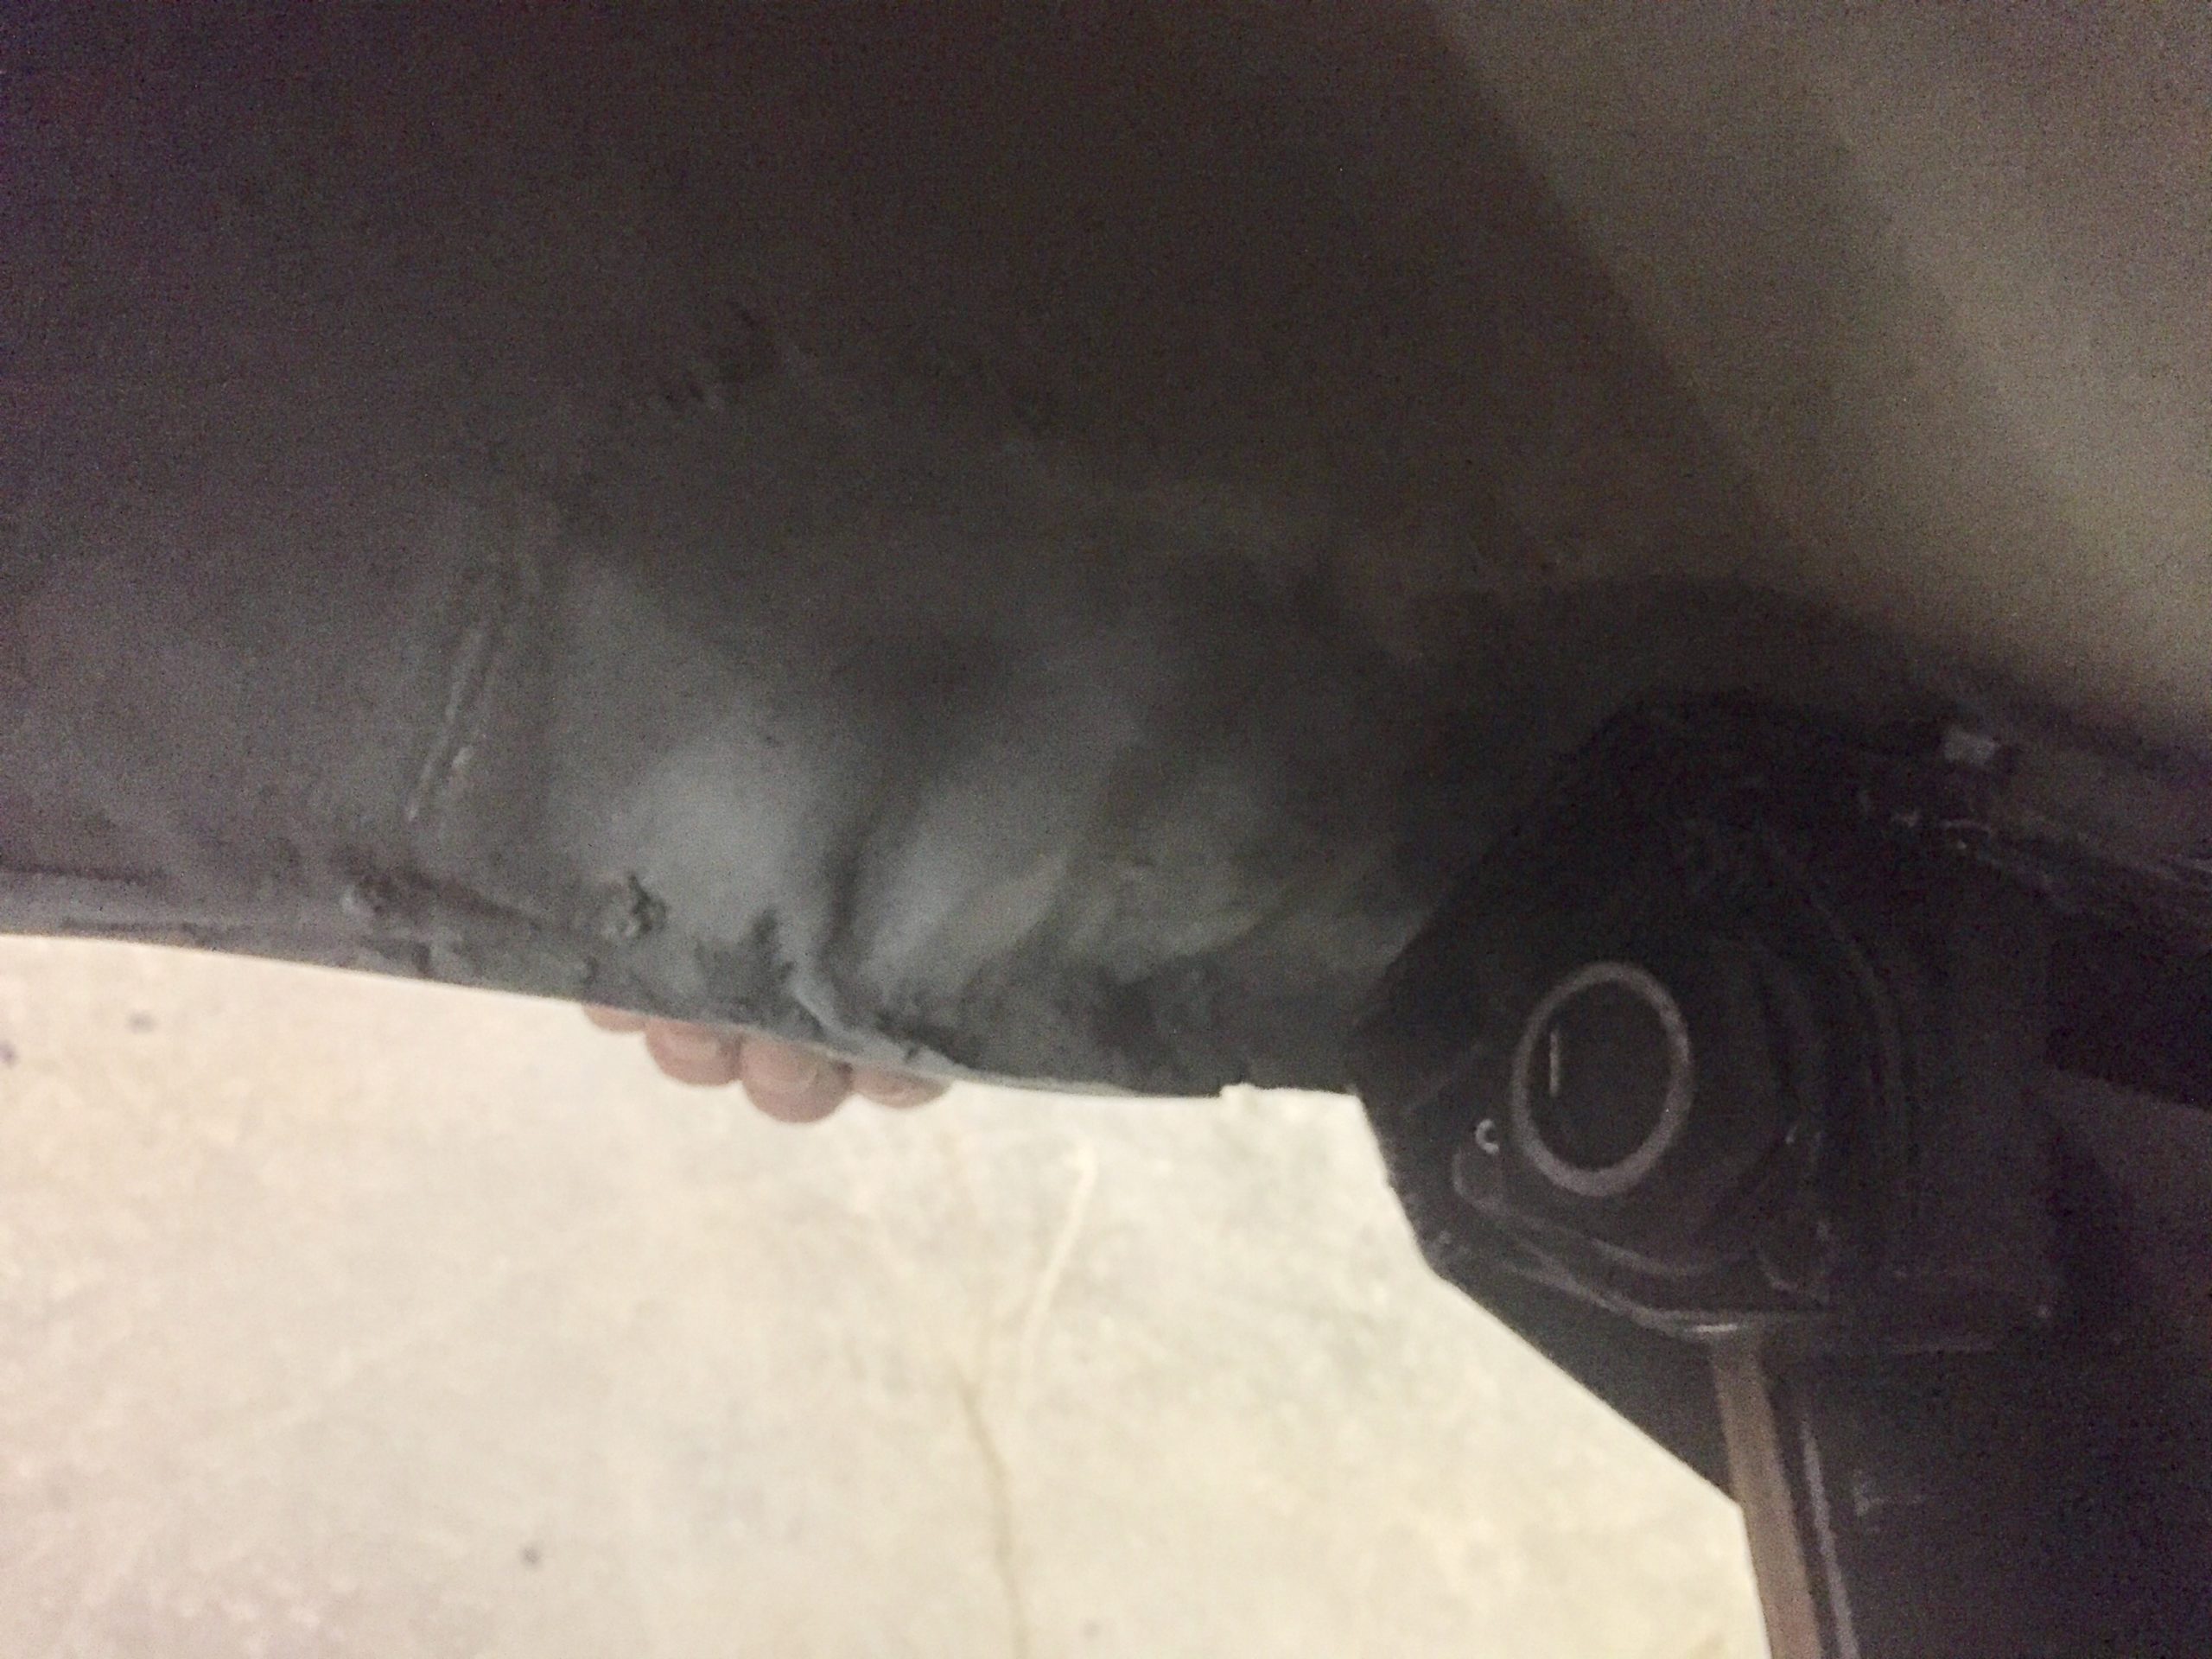
During restoration, we discovered the front fenders were originally manufactured on early prototype tools and had substantial body solder (almost a lost art) from the factory to smooth out the “rough spots.” As a result, we replaced one of the original fenders, sending it back to the Cord factory. It now lives a factory-restored life on another Cord.
Panel Assembly
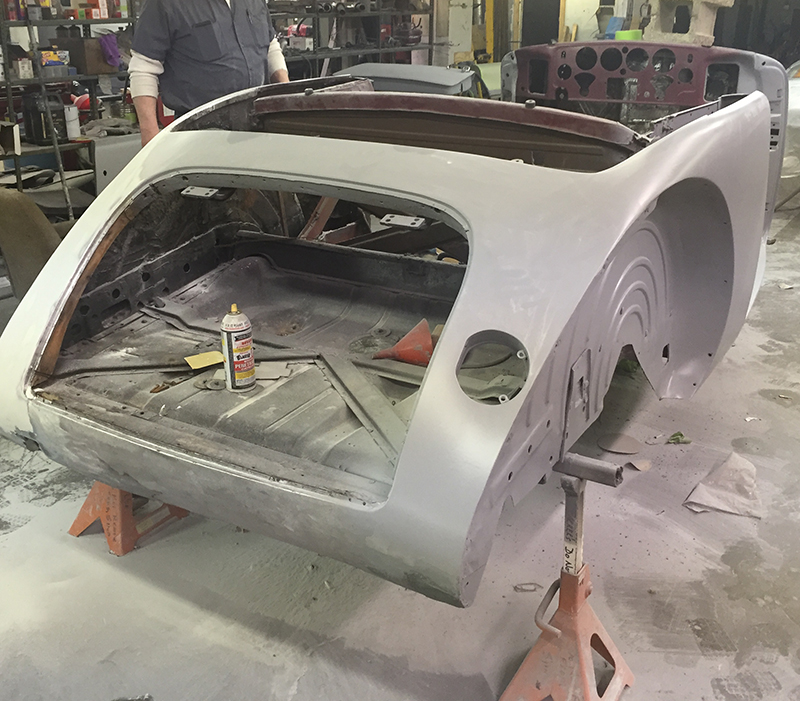
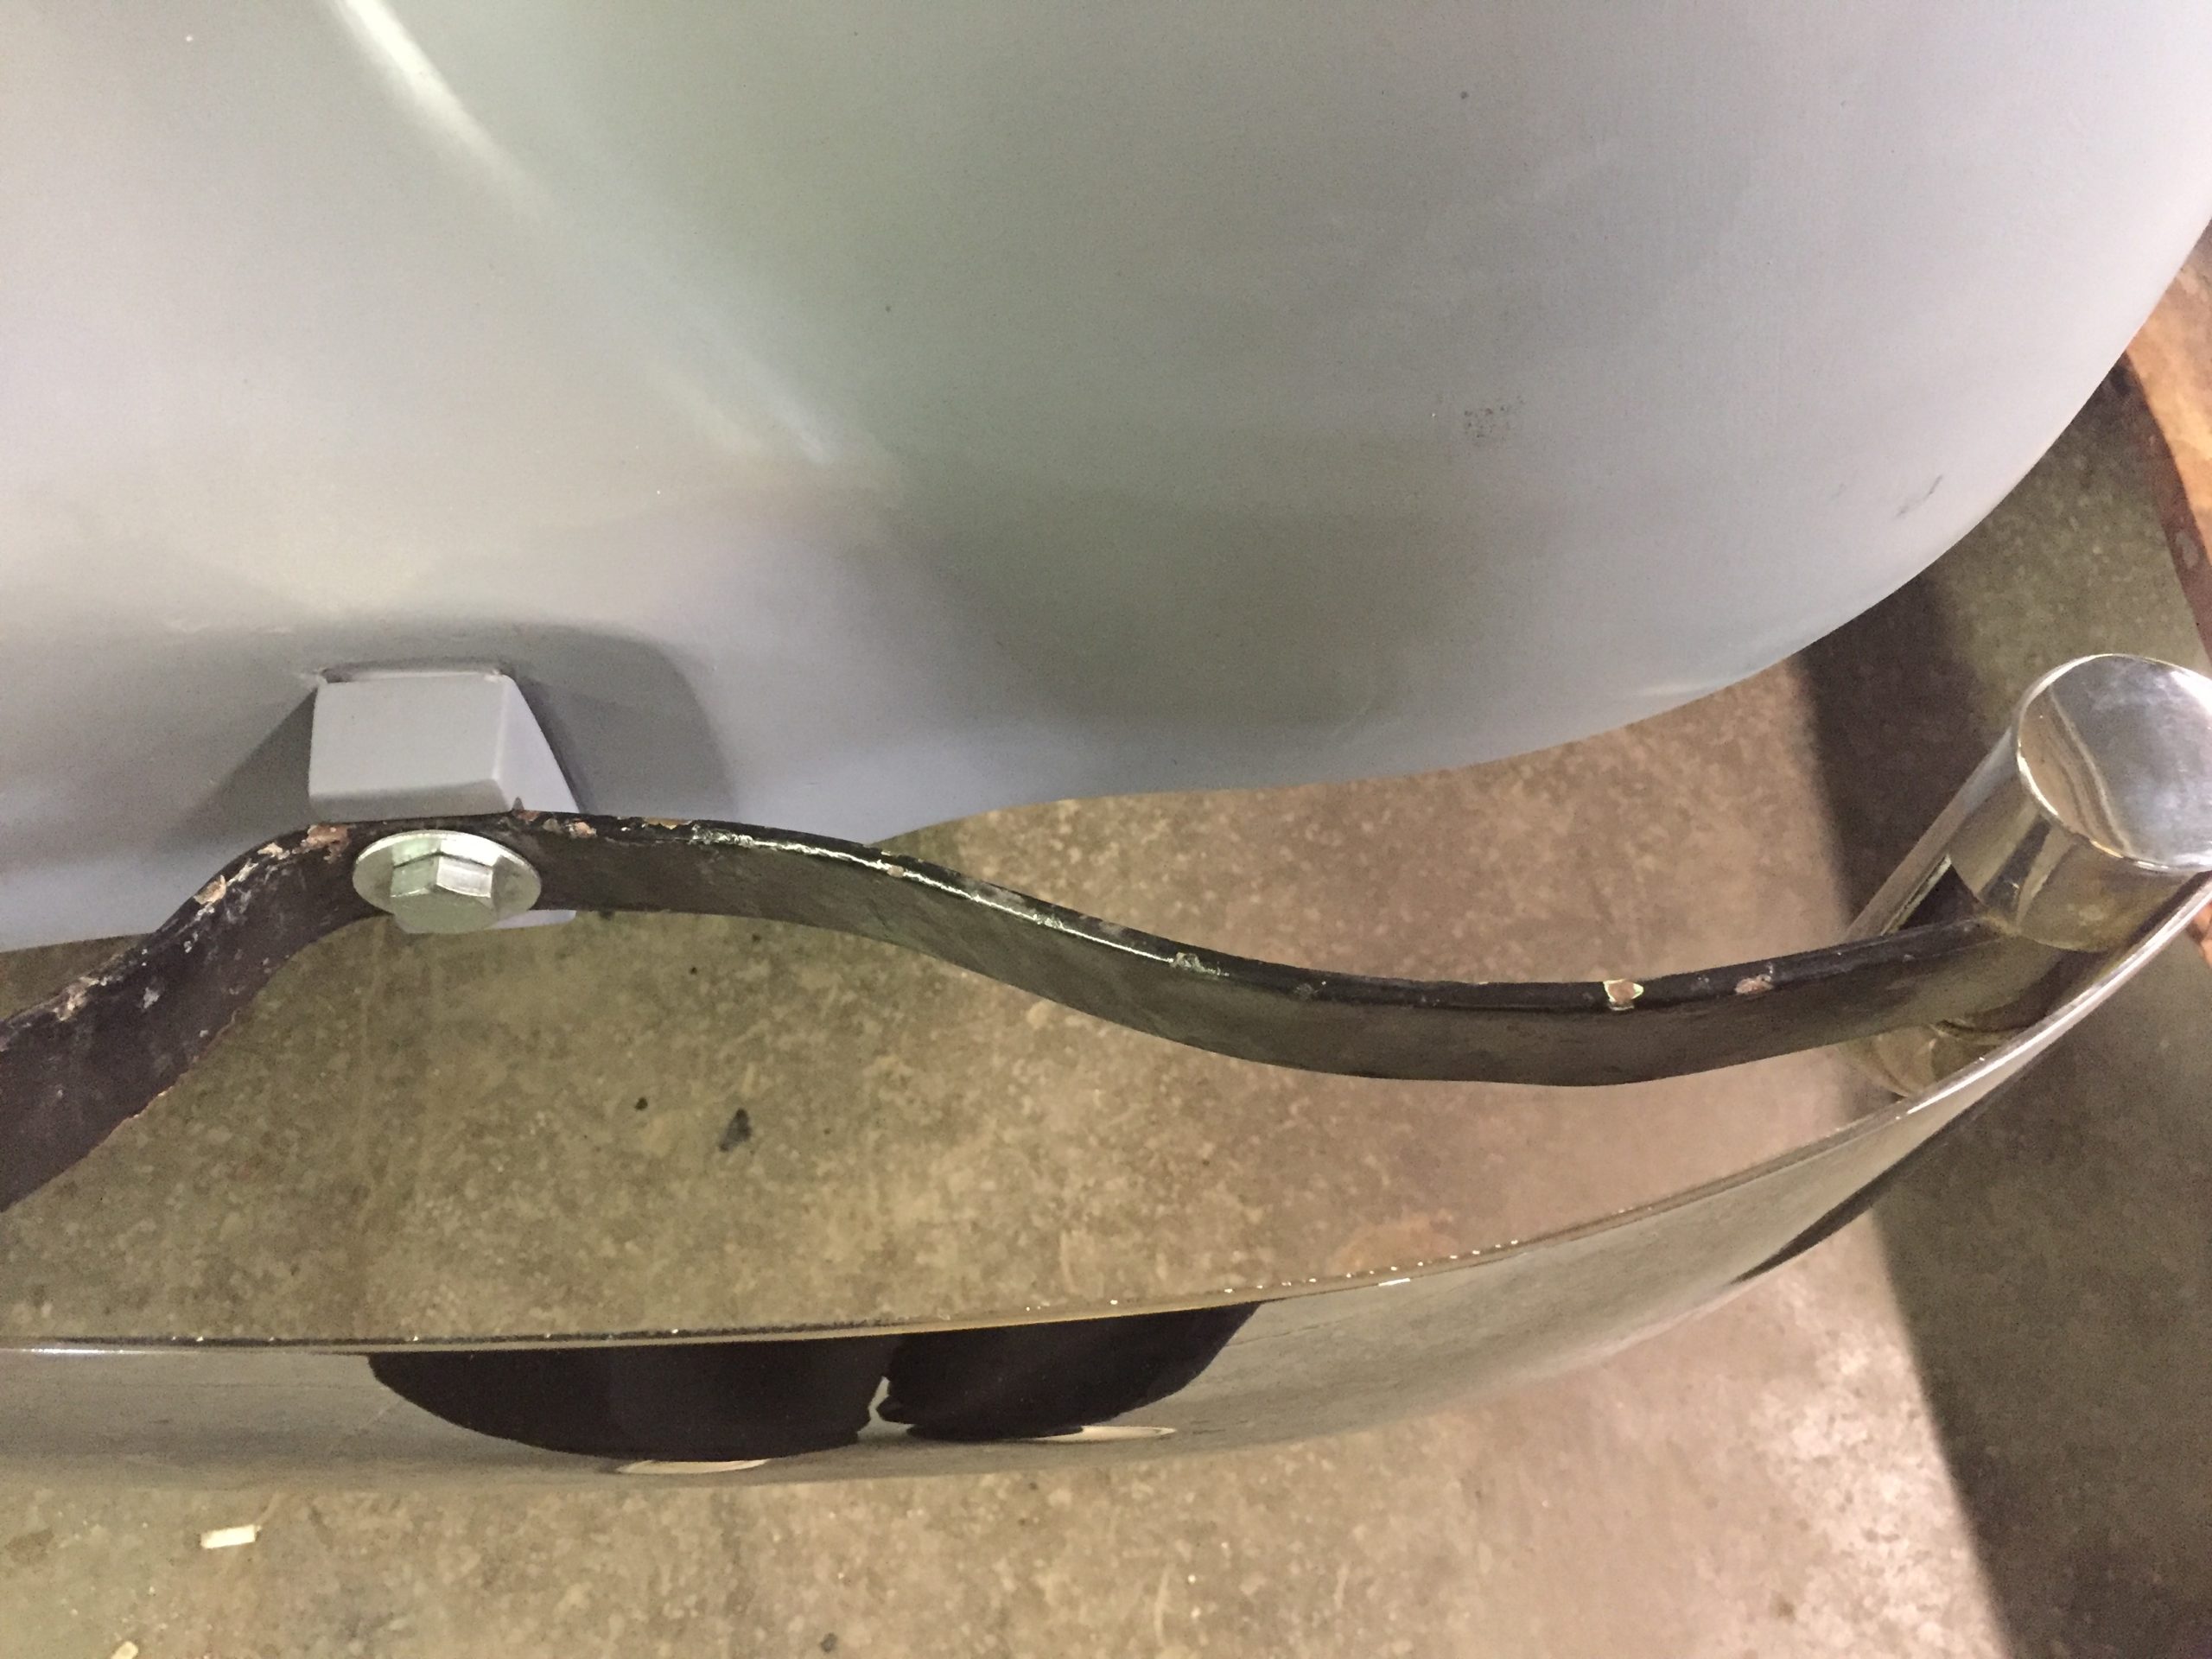
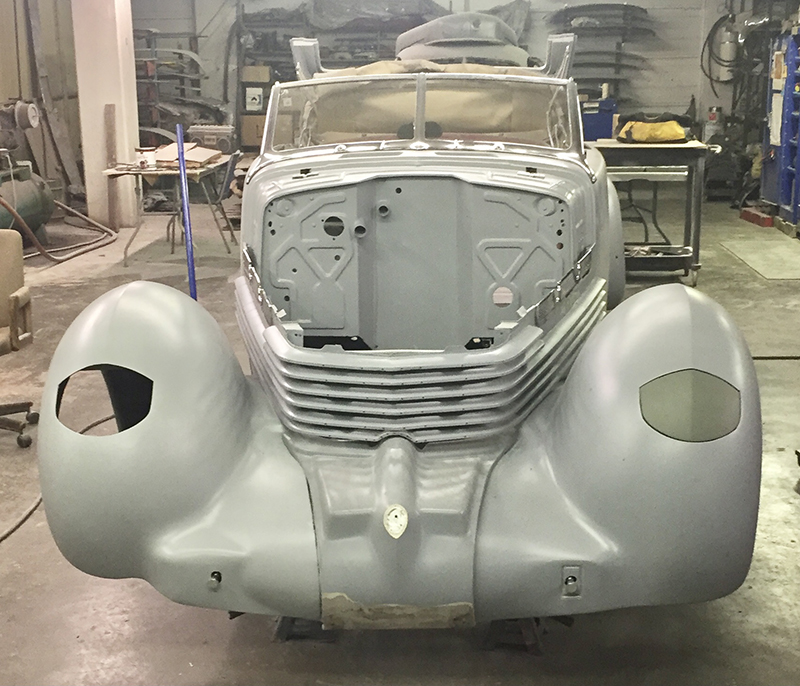
Paint primer applied; Panel reassembly begins with adjustments for fit; Prep for additional finish work.
Paint
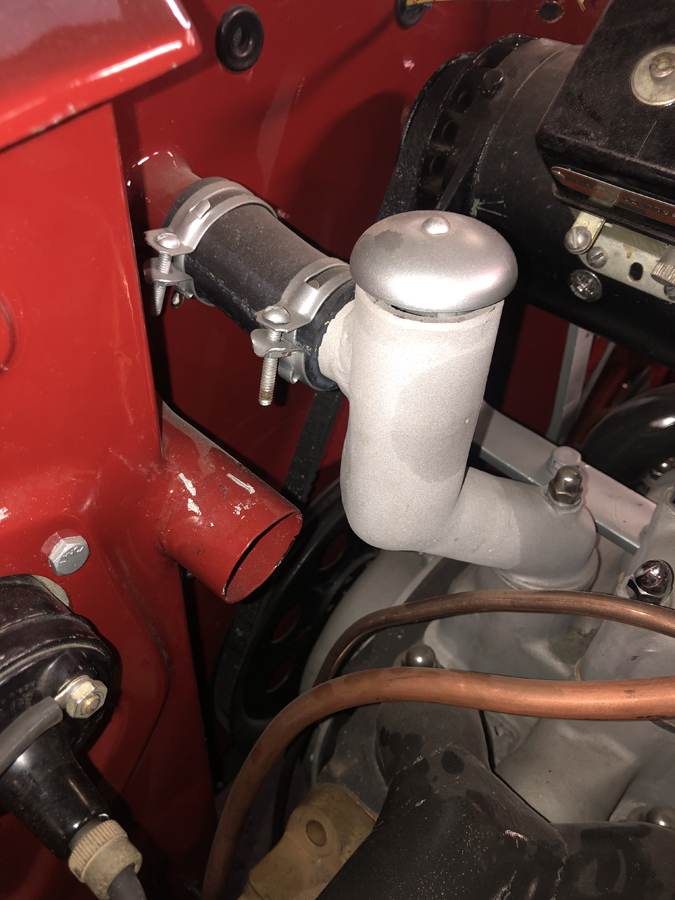
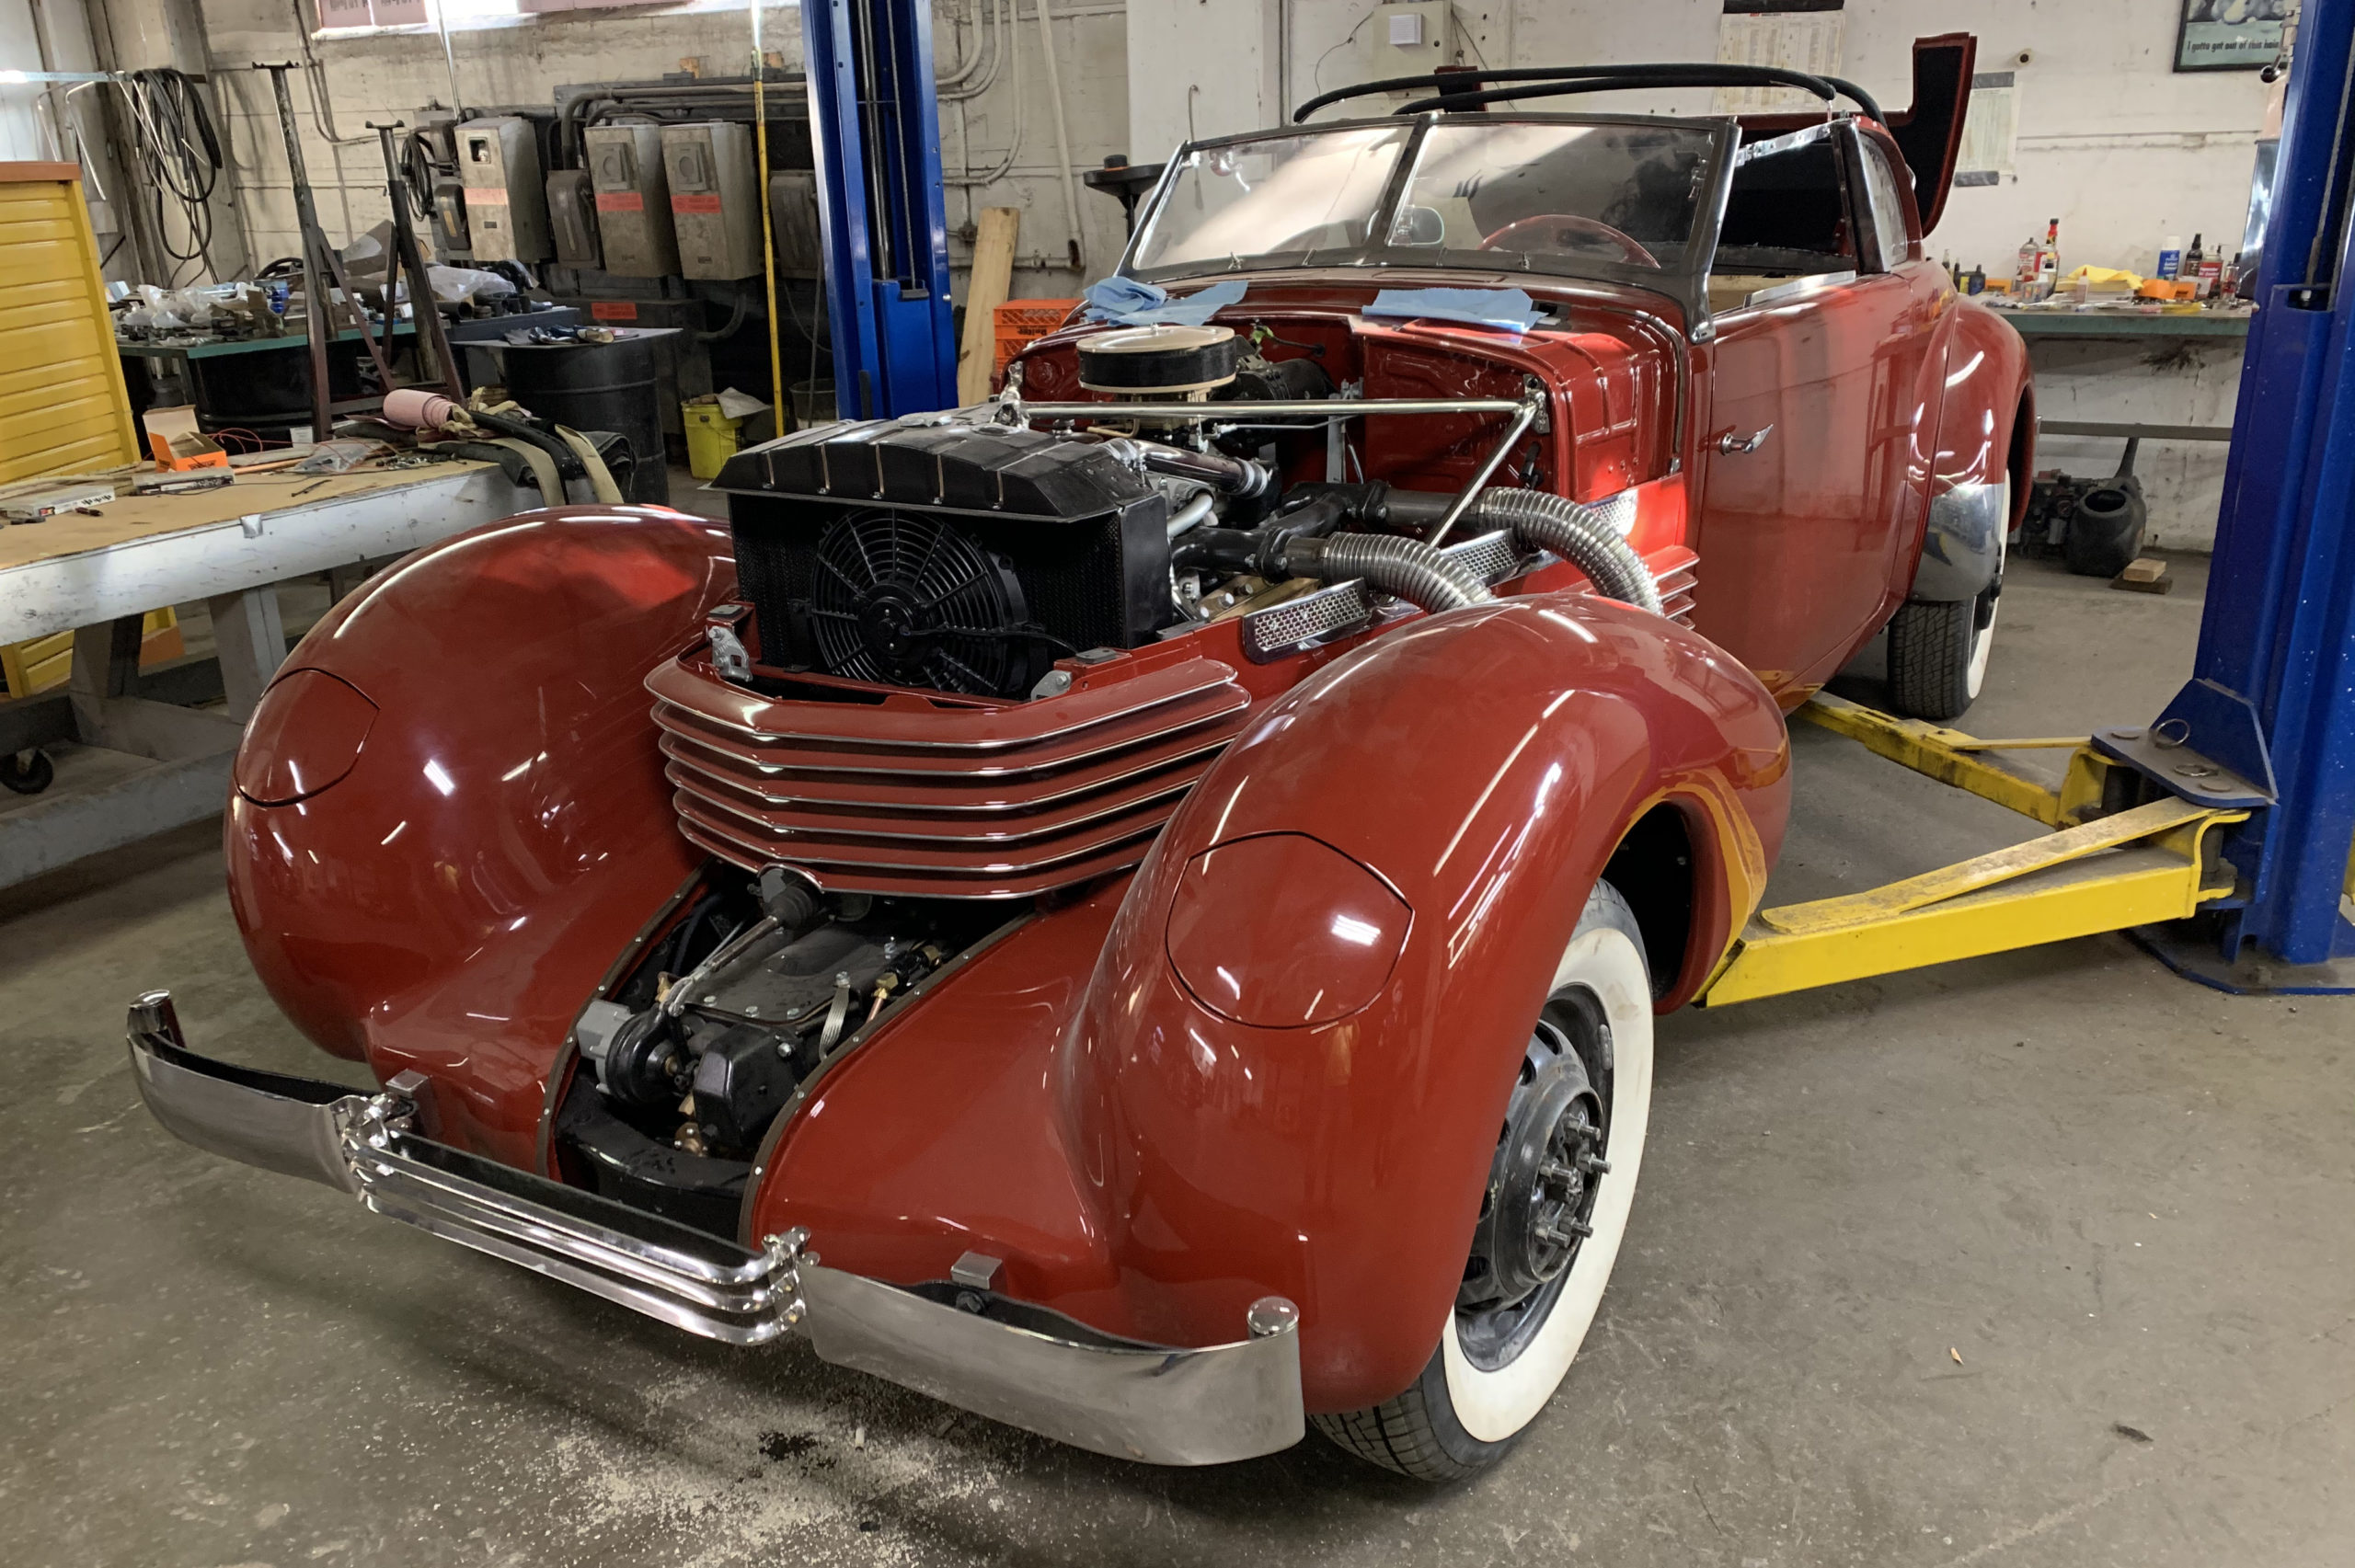
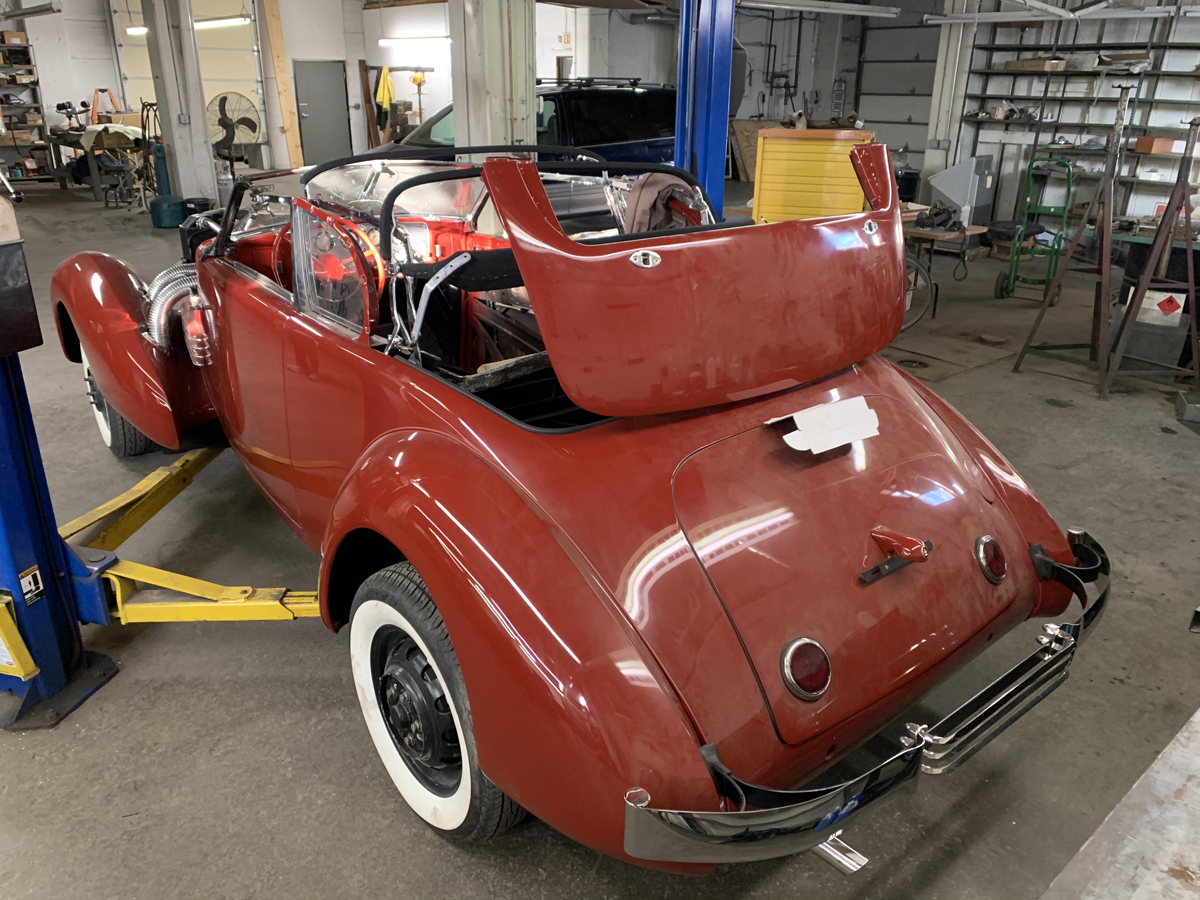
Exterior paint completed; Trim fittings and rubber seals installed; Chrome accents and components refitted.
Other
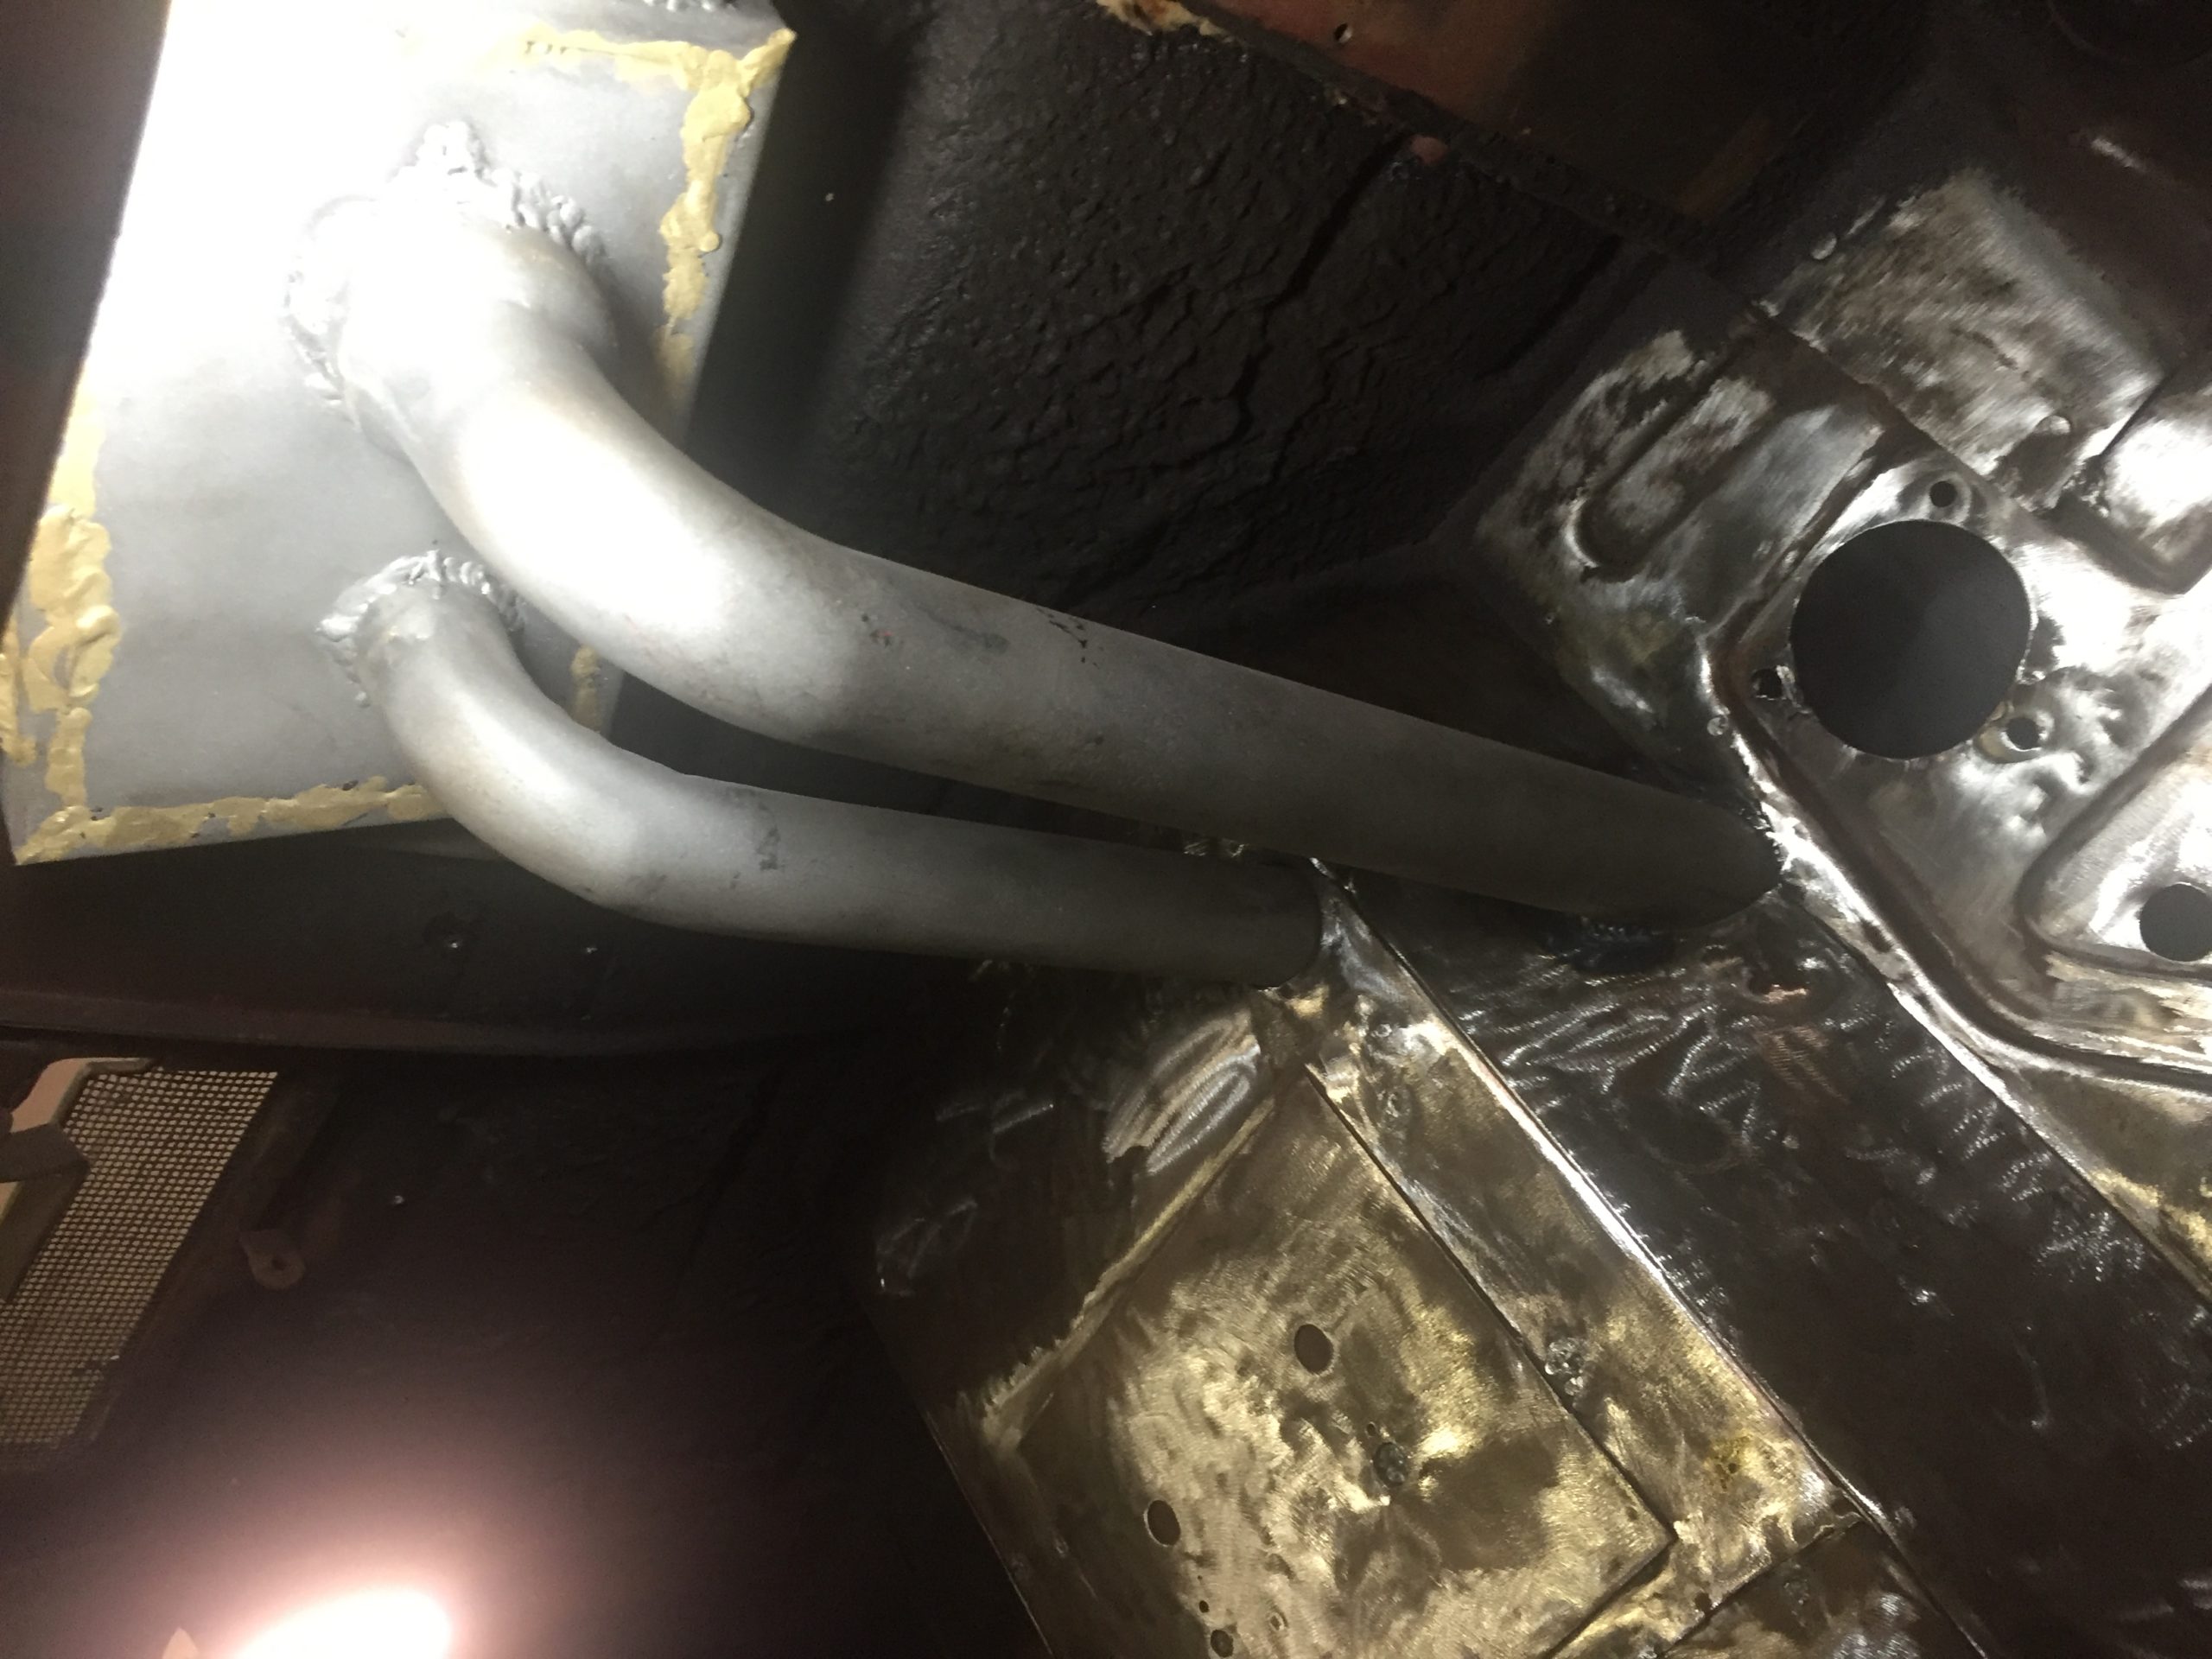
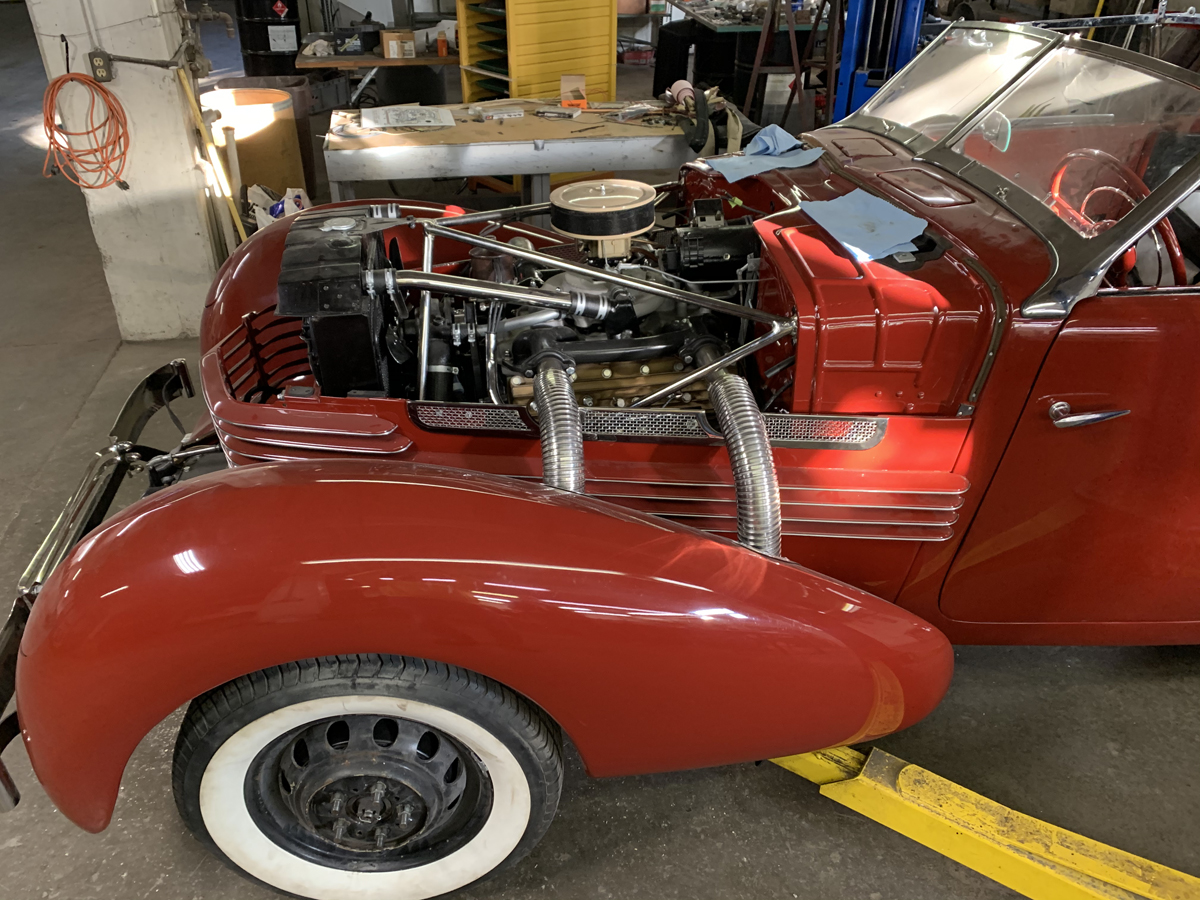
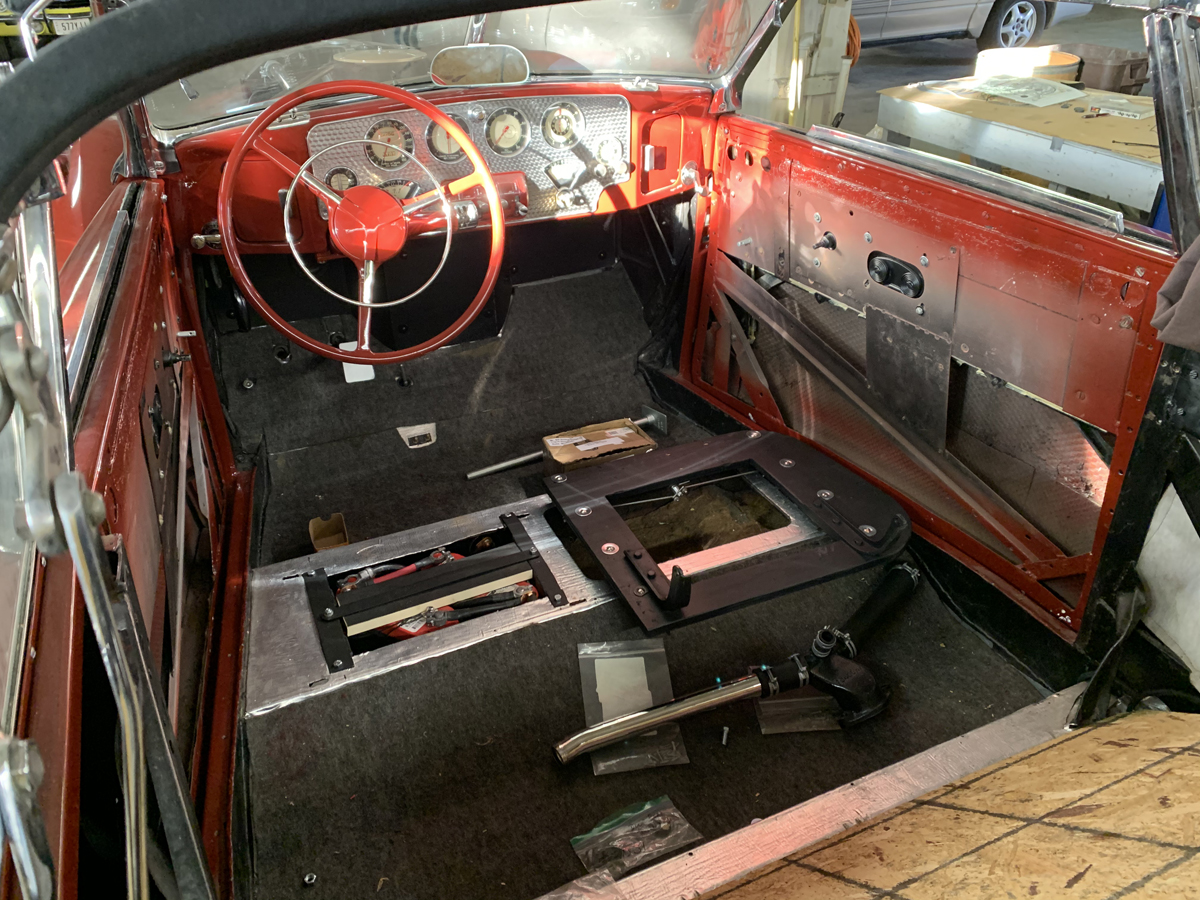
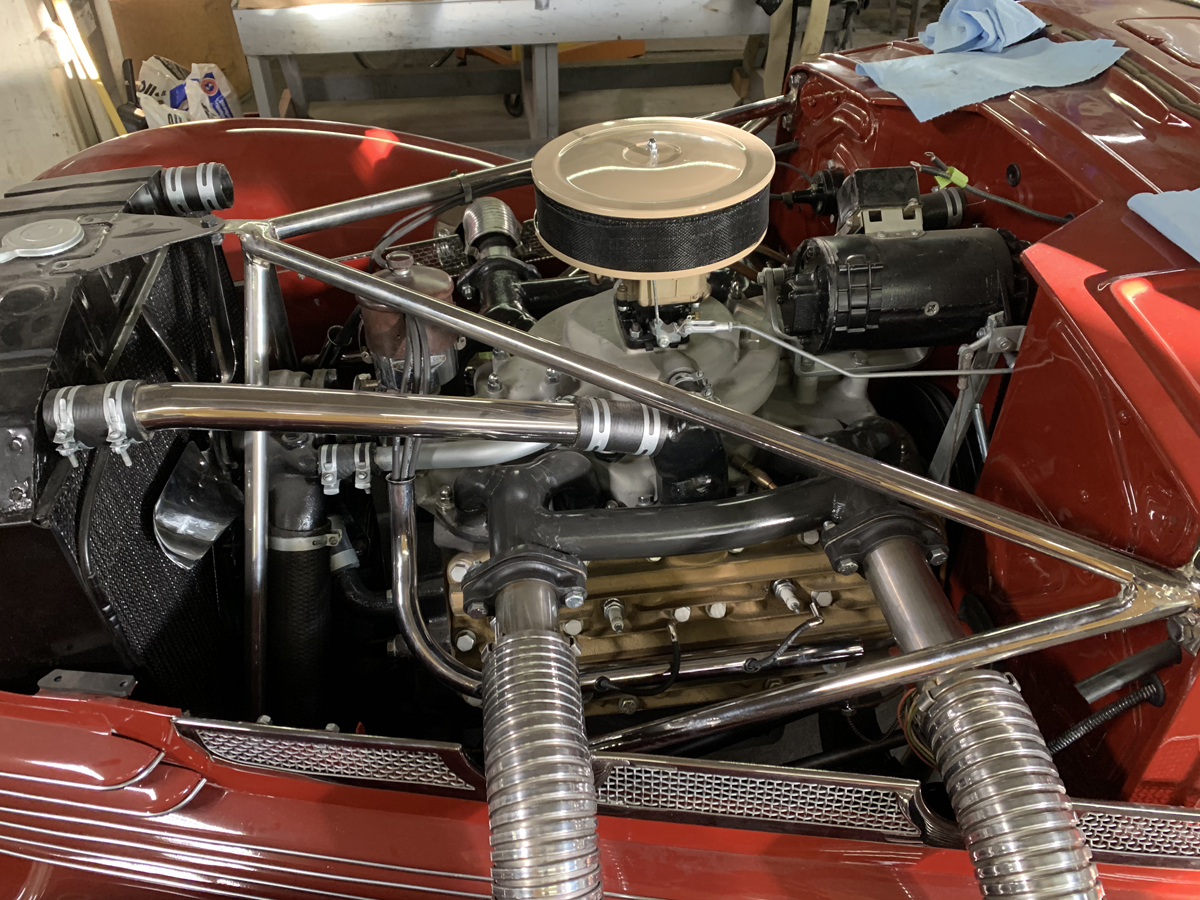
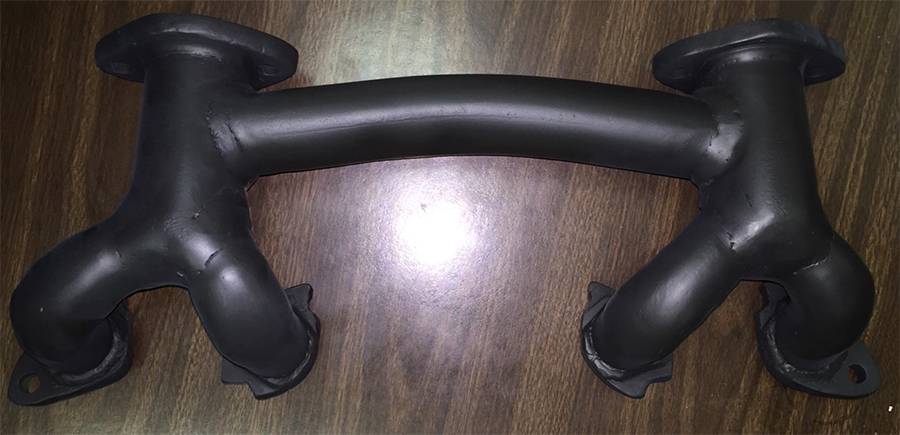
Engine has been rebuilt and installed; Fabricated improved wheel lug nuts; Hand fabricated exhaust manifold; Interior work is beginning.
